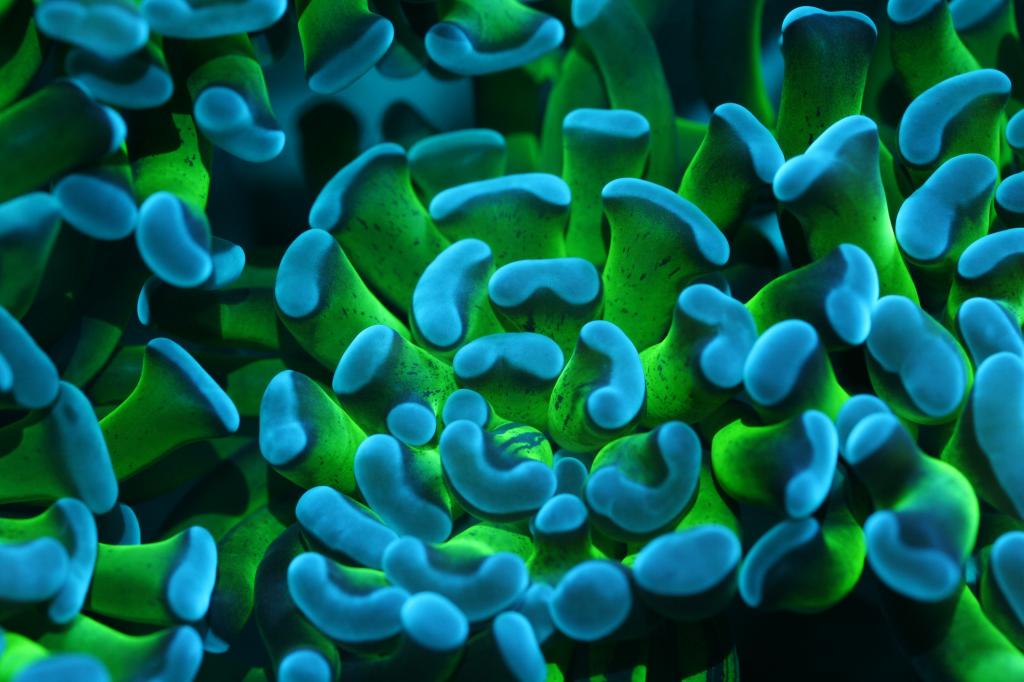
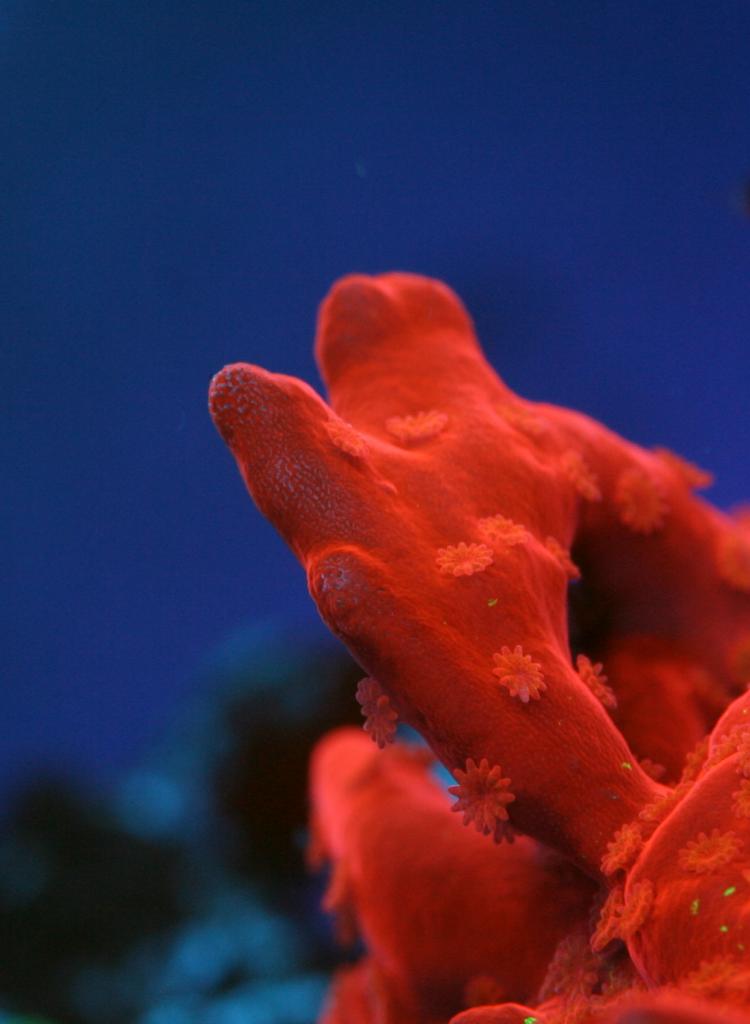
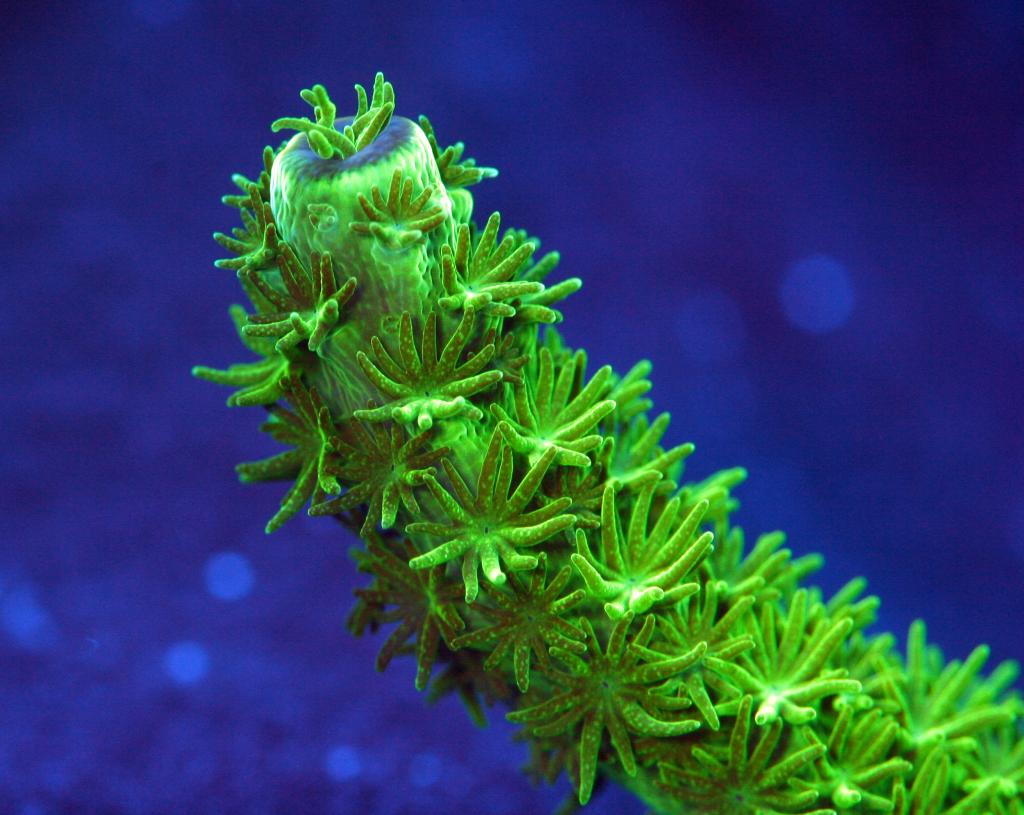
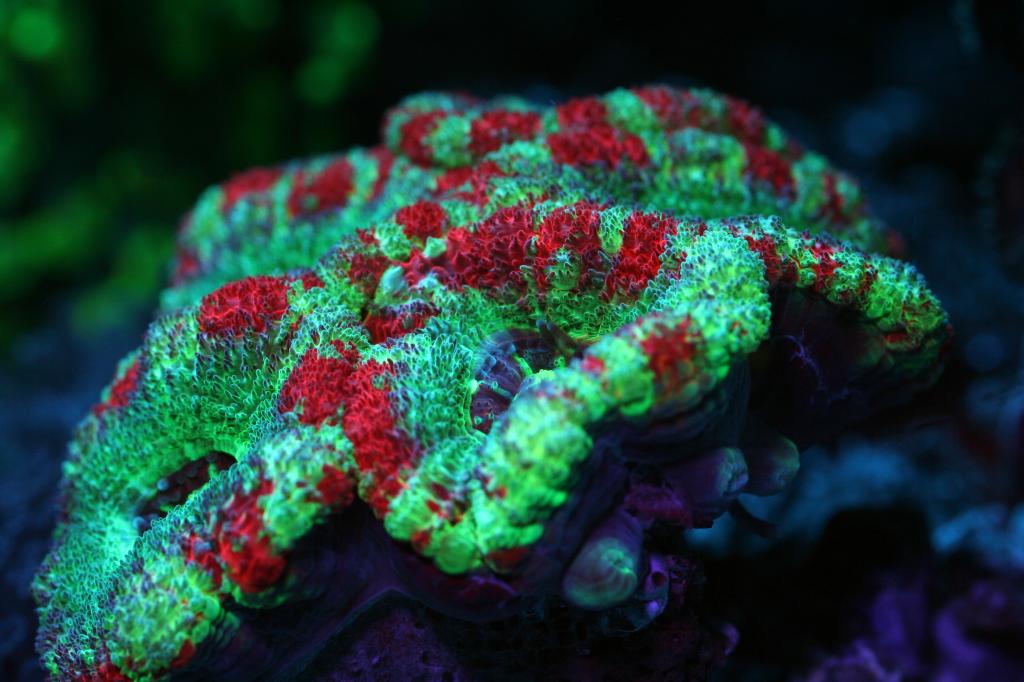
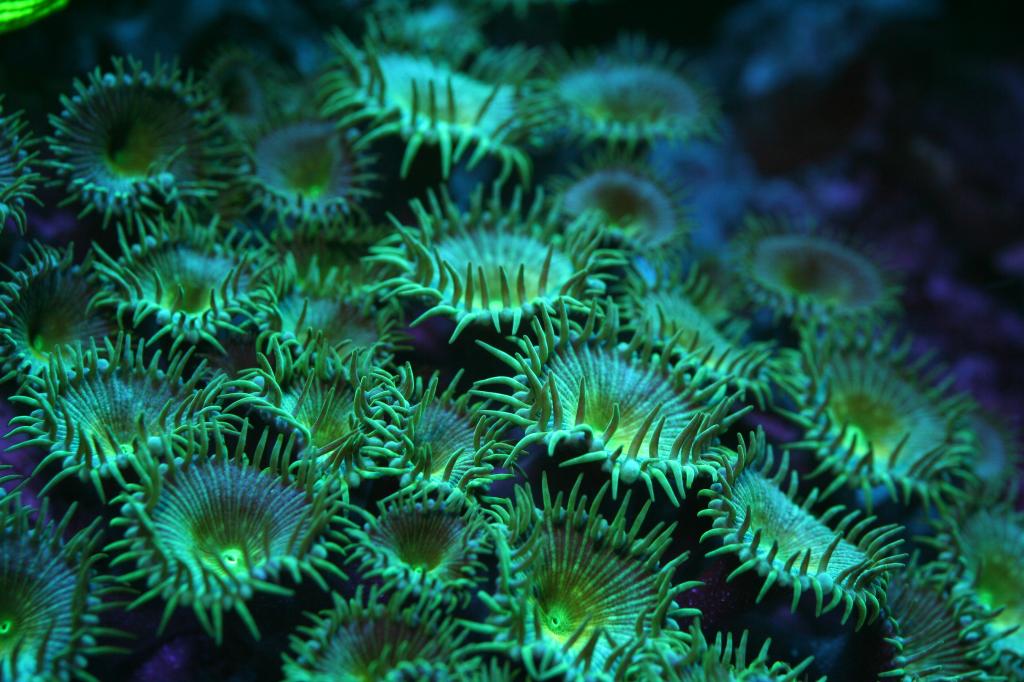
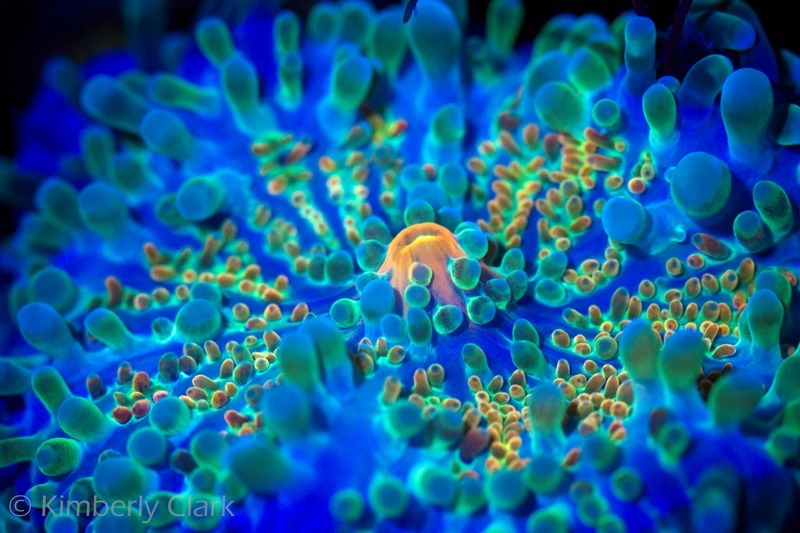
some photos using Orphek Azurelite
Photos took by:
http://gtaaquaria.com/forum/showthread.php?p=353240
Tanks to MPD of sharing this photos
Read more:
Orphek Azurelite- The secret to good reef photography
Great things come in small packages, and Orphek’s Azurelite is definitely a wonderful tool for reef aquarium owners and photographers! The powerful 5 watt blue LED makes not only night viewing of reef tanks easier, but can also to be used to add pizazz to daytime photographs.
Using the Azurelite to accentuate aquarium photography is easy! To prep the tank for pictures, there are a few steps that can be taken for that maximum wow factor. First and foremost, clean the tank glass ahead of time. Try to do this at least 30 minutes before taking the photos so the water has time to clear.
To show polyp extension, put a small bit of food into the tank! Once they are really showing their stuff, turn off all pumps and powerheads to reduce the movement of the corals and allow them to open fully.
Night time Photos:
Now, everything is set to take the photos. Any camera will suffice since, nowadays, even the majority of point and shoot cameras have advanced settings. For the best results, put the camera on a tripod or other steady object to reduce camera shake. If the camera has an Aperture Priority setting, use this and set the aperture (f-stop) to around f8.0. Auto mode or Program auto mode will work as well, but, may not be as clear.
Normally, keeping the ISO set to auto will work just fine, but if need be, adjust the ISO higher or lower as needed. What really stumps people often is the white balance. Some cameras handle auto white balance well, but for those that tend toward blue images, try using the ‘Cloudy’ or ‘Shady’ white balance preset. (refer to camera manual) However, sometimes even those presets don’t help and the colors can be corrected in a photo editing program such as Photoshop or Gimp (a free photo editing suite).
Day time Photos:
To incorporate the Azurelite, hold it at an angle to the glass, a little away from the camera lens so that it does not create a reflection in the frame. Be sure to use the max brightness setting for its full effect! One of its nifty features is the ability to adjust the spread of the light so that you can cover either a large section of the tank or pinpoint one coral on its own. Right away, you’ll see the colors pop out, so all you have to do is aim the beam of light.
Last step: snap a picture. The combination of the tank lighting and the blue LED yield a special kind of look! It may take a few practice shots to achieve the right exposure, but this can usually be done in only a few minutes. If the image is too bright or washed out, try using the camera’s exposure compensation. Each camera is different, so refer to the manual on how to do this, but by stopping the exposure down (toward the negative), the camera will underexpose the image automatically and make it darker.
For even more impressive photos, wait until the tank lights go out! Make sure to turn off the room lights as well to avoid reflections on the glass.
Using the Azurelite as the only source of light brings out an amazing amount of color. The same setup and settings can be used from the daytime photos, and if the image is dark, consider raising the ISO. If the shutter speed is slower, sometimes the image will become blurry from the photographer touching the shutter button. In this case, the camera’s self-timer feature can be used to avoid camera shake if a remote is not available.
A little something extra: point the Azurelite down through the surface of the water (careful not to drop it in!) for ripples of light.
With its intense 5 watt blue LED, three modes, and adjustable beam, the Orphek Azurelite is sure to become one of the most frequently used tools in your reefing arsenal. It’s great for checking out the tank after hours, spot feeding corals during lights out and now it’s a great tool to help you capture pictures like never before.
Click Here for : Orphek Azurelite product page
