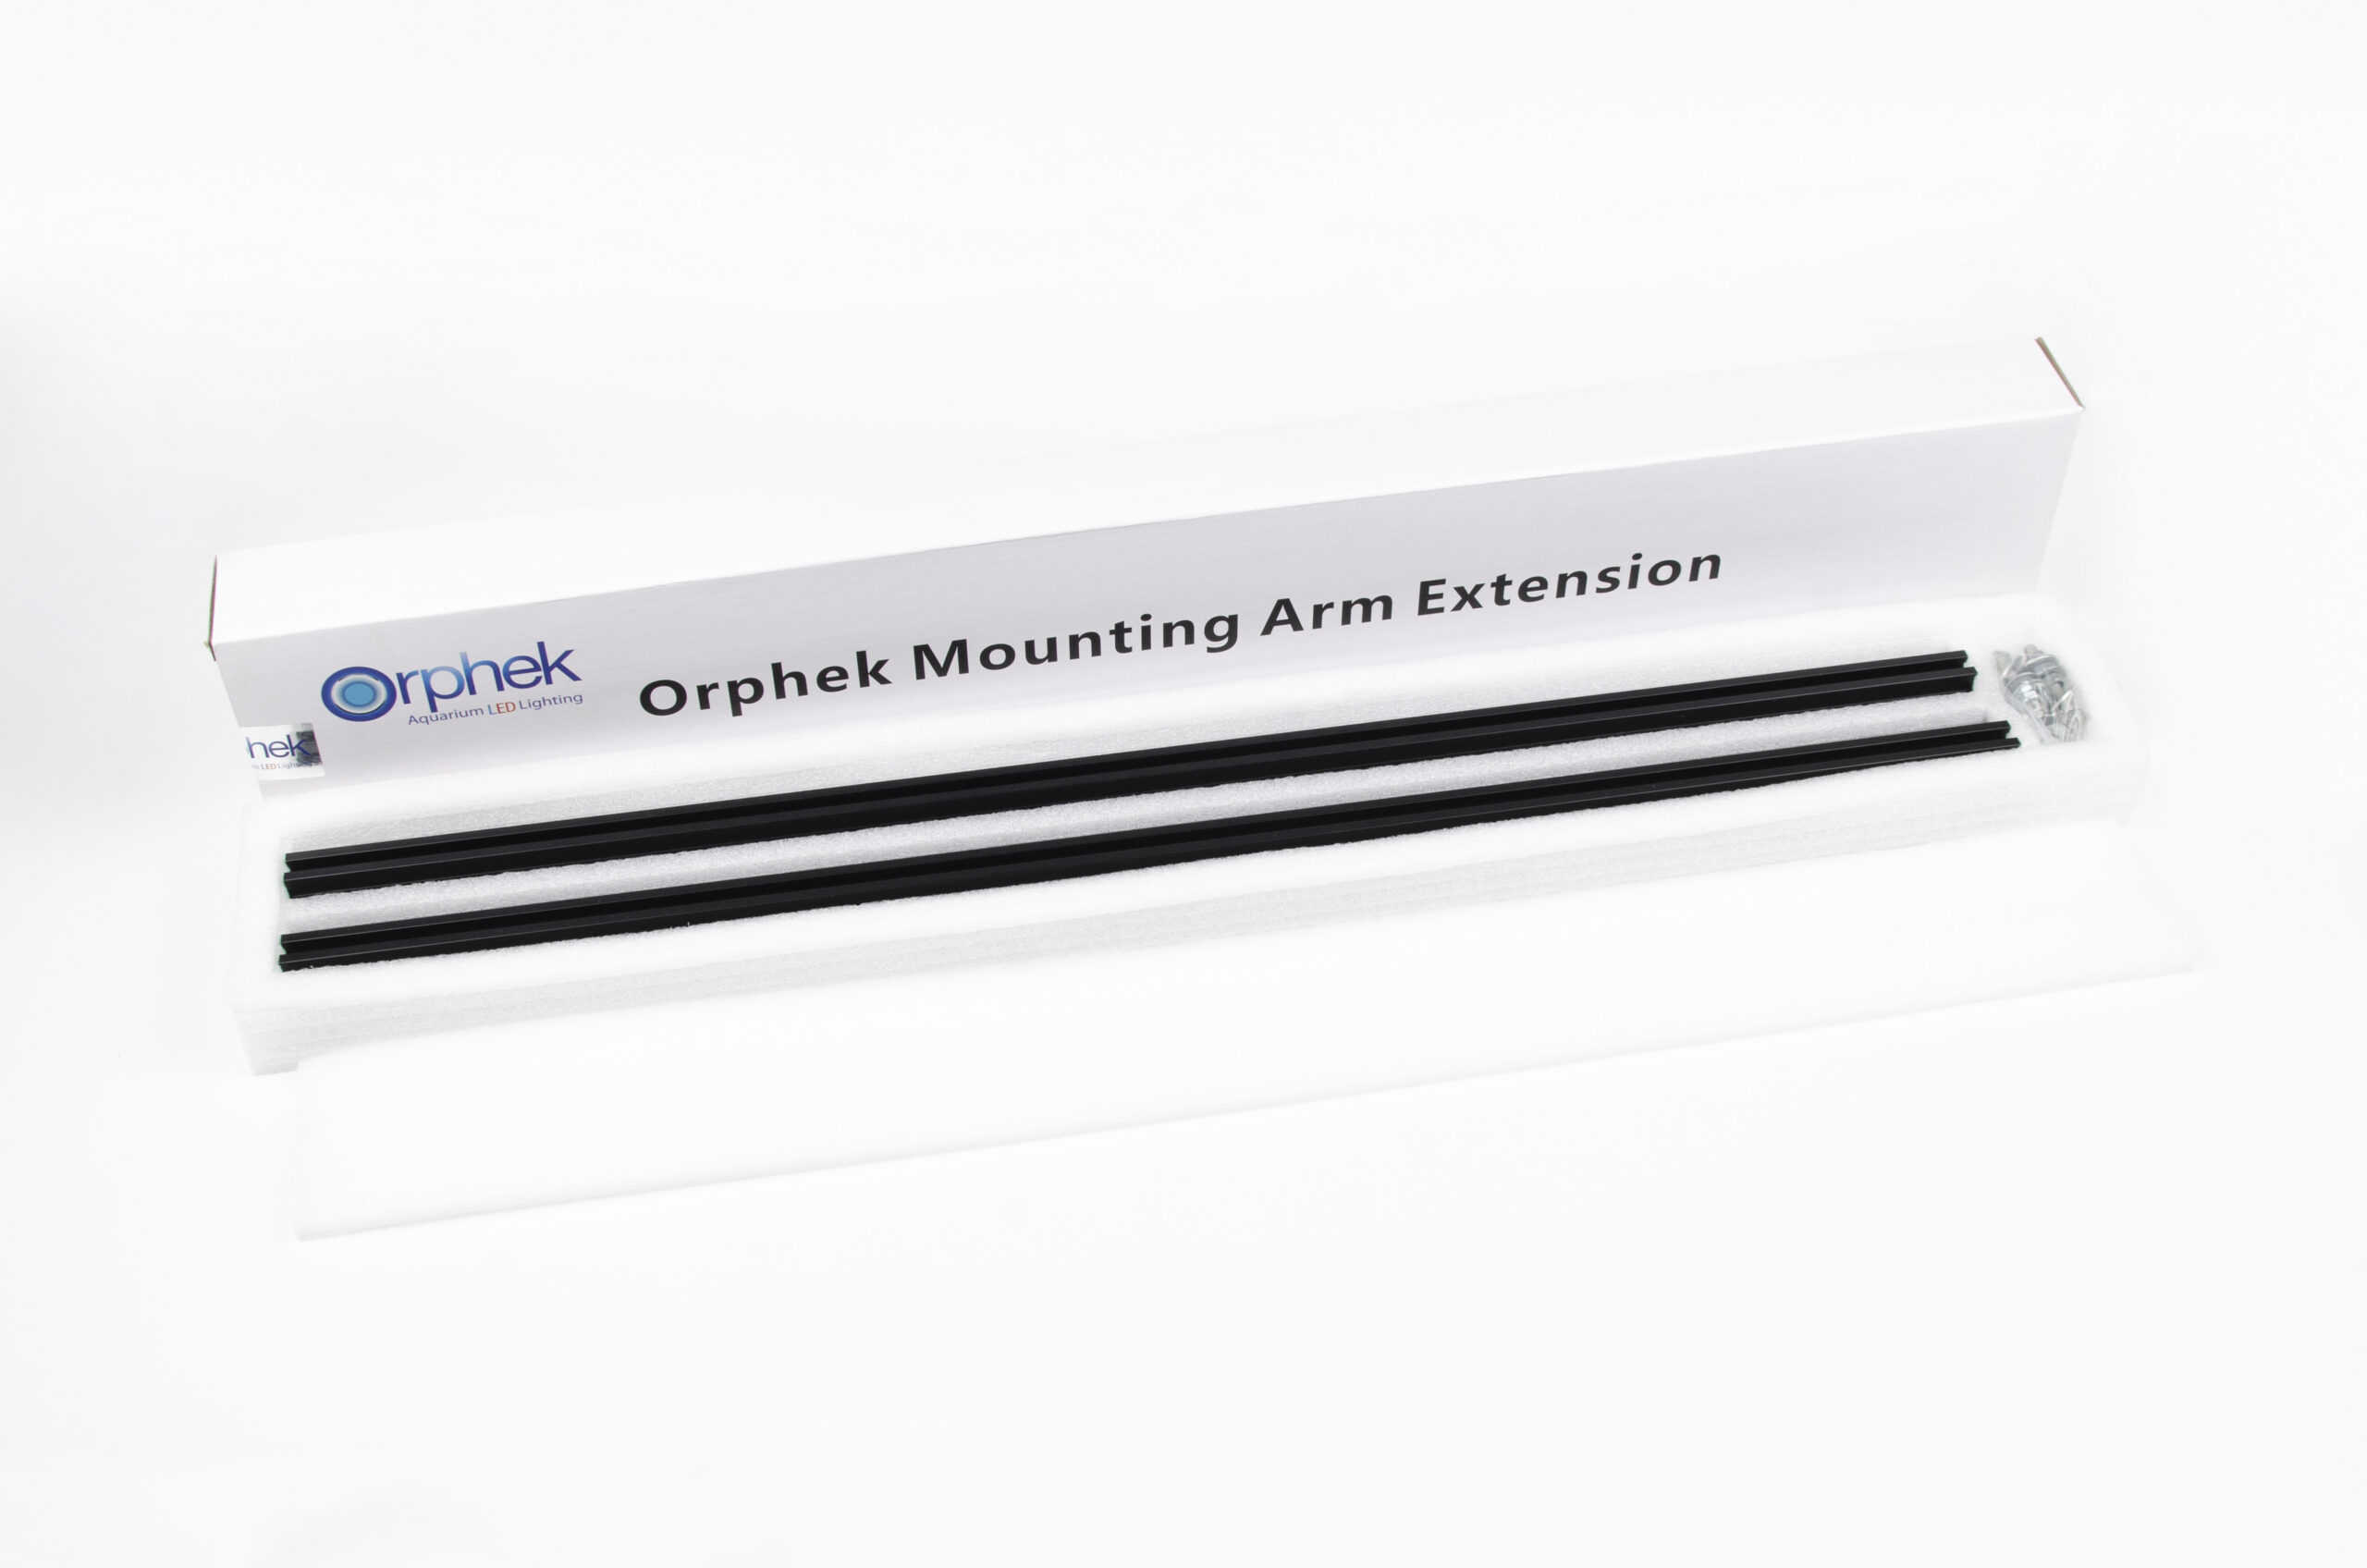
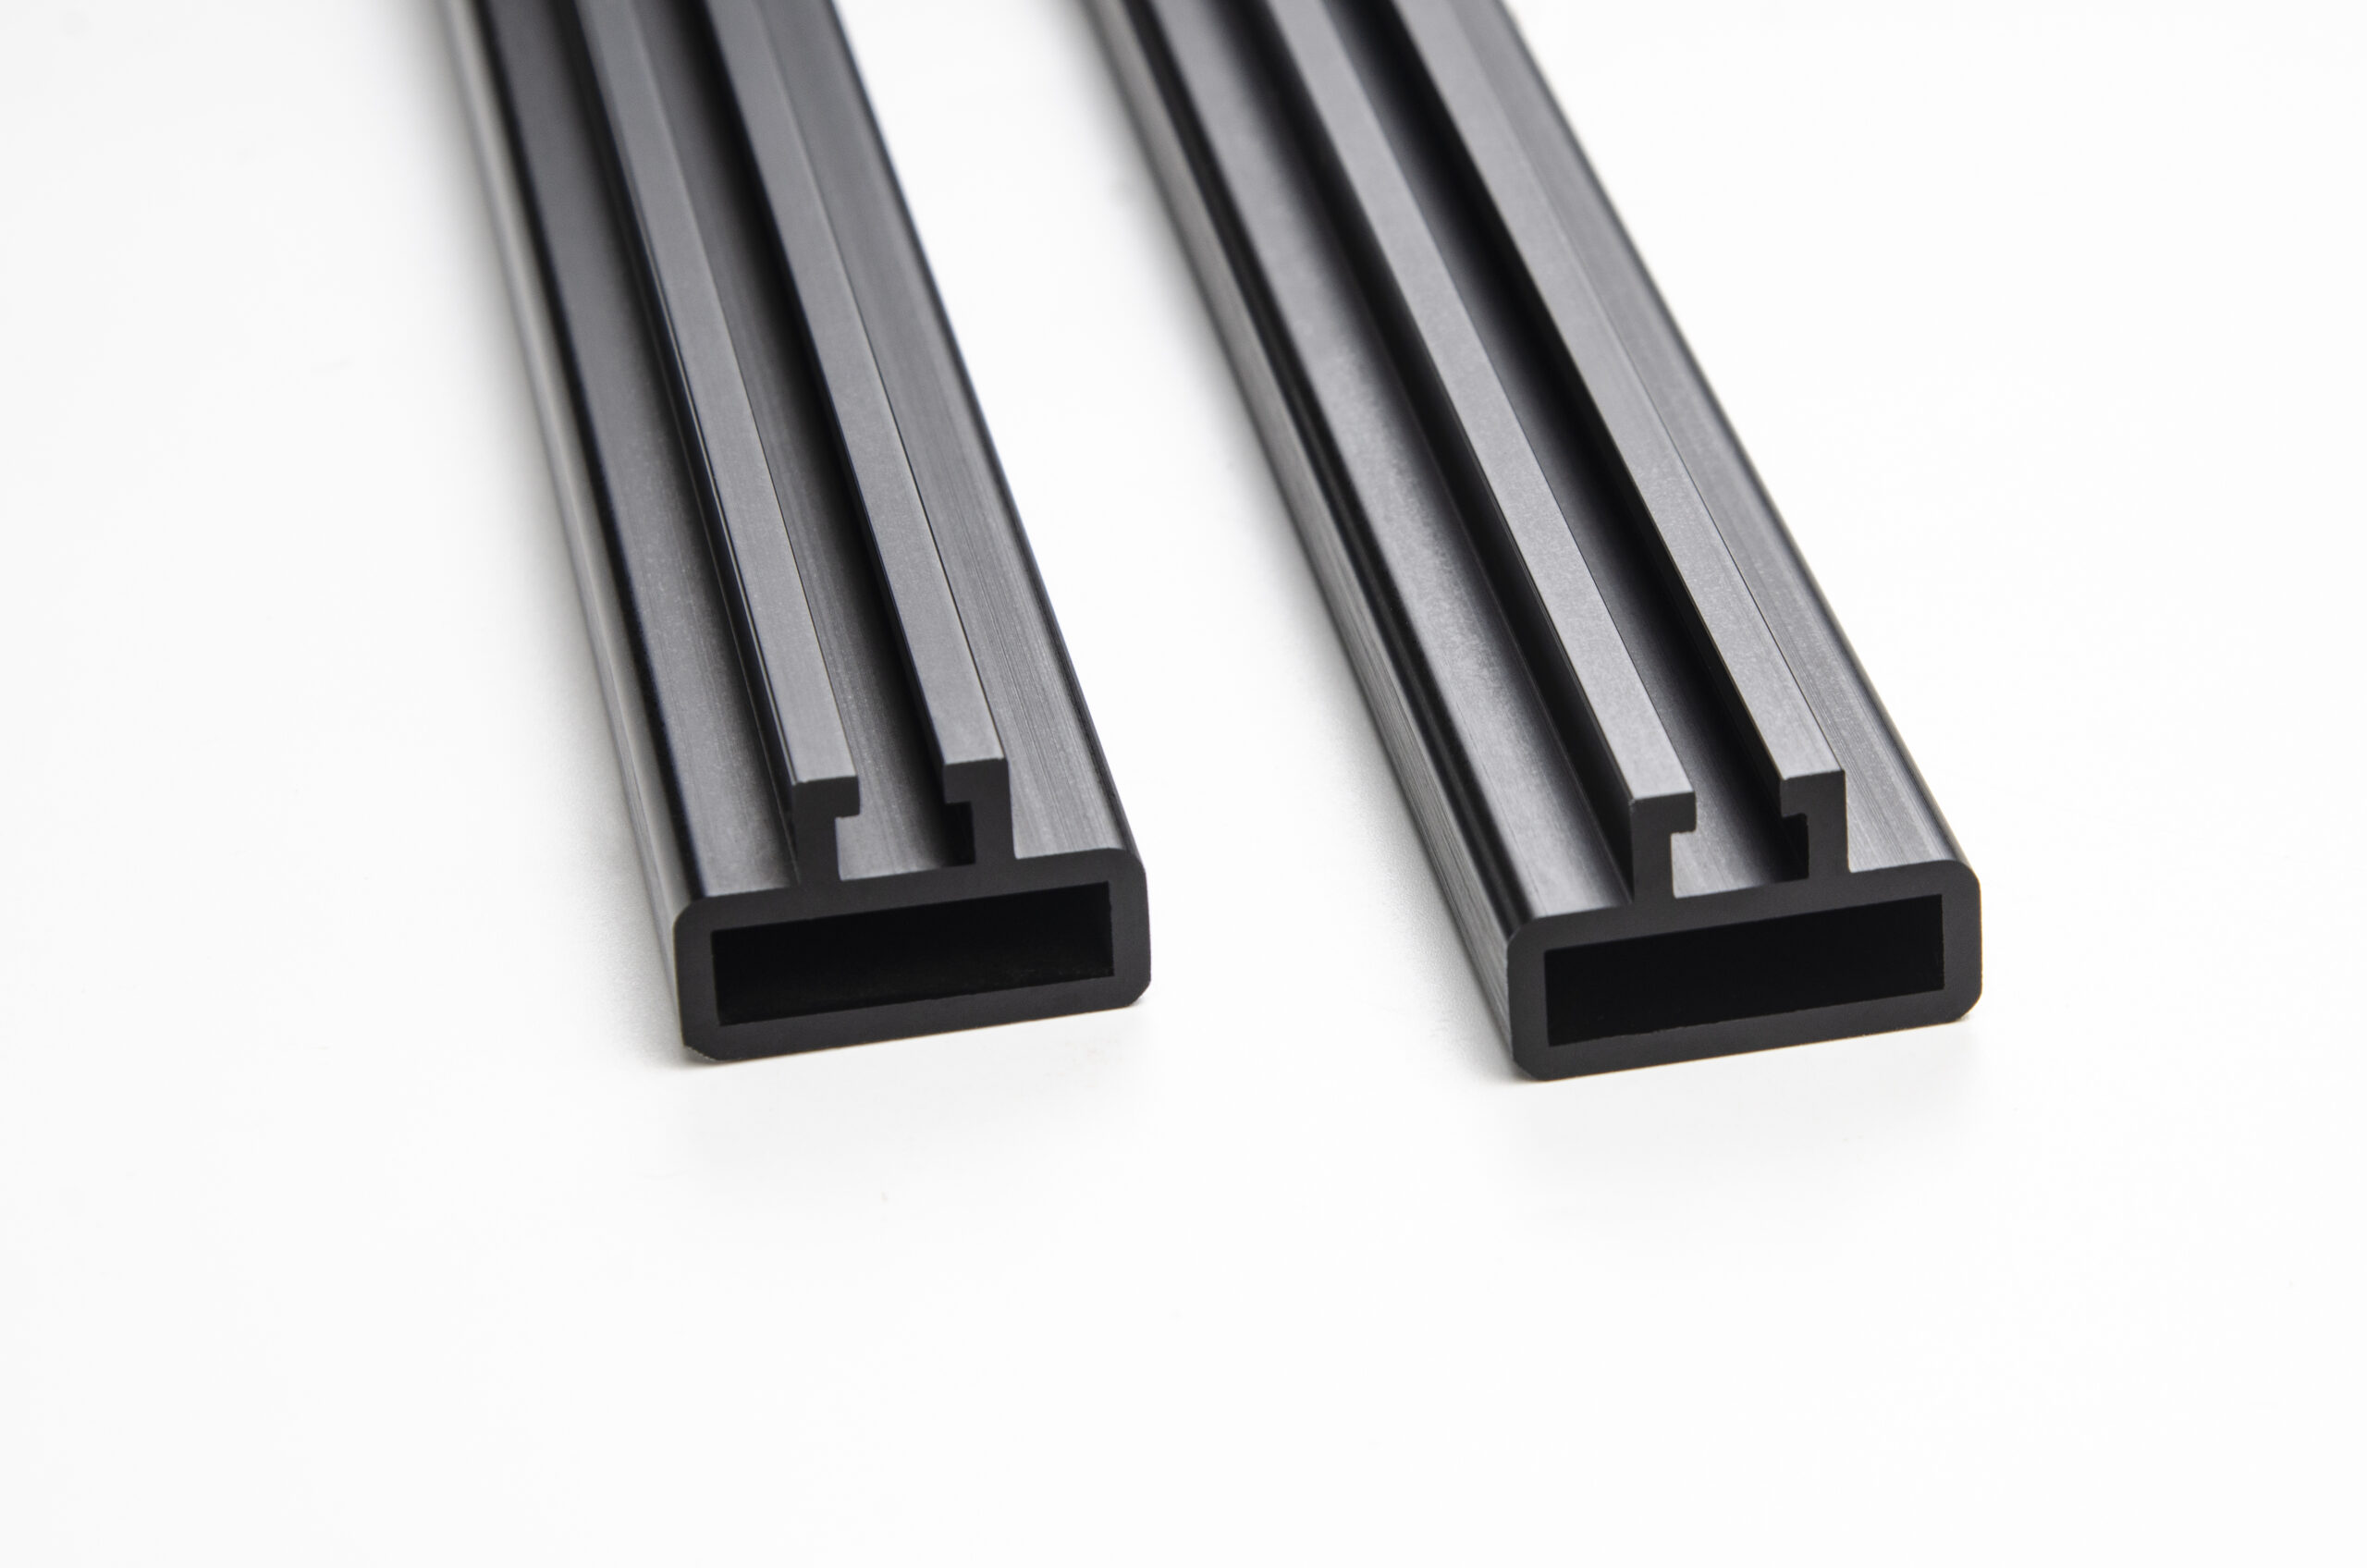
Orphek Mounting Arm Extension Kit is designed specifically to be assembled with Orphek Universal Mounting Arm Kit
In 2018 we launched our fist mounting arm kit to hang our beloved Atlantik fixture. In 2020 we launched a new assembling solution – the Orphek Universal Fixing Bracket Kit for both the Atlantik and our OR LED Bars, which is good for assembling units and hanging from the ceiling.
Today we are happy to announce a new Mounting Arm Extension Kit
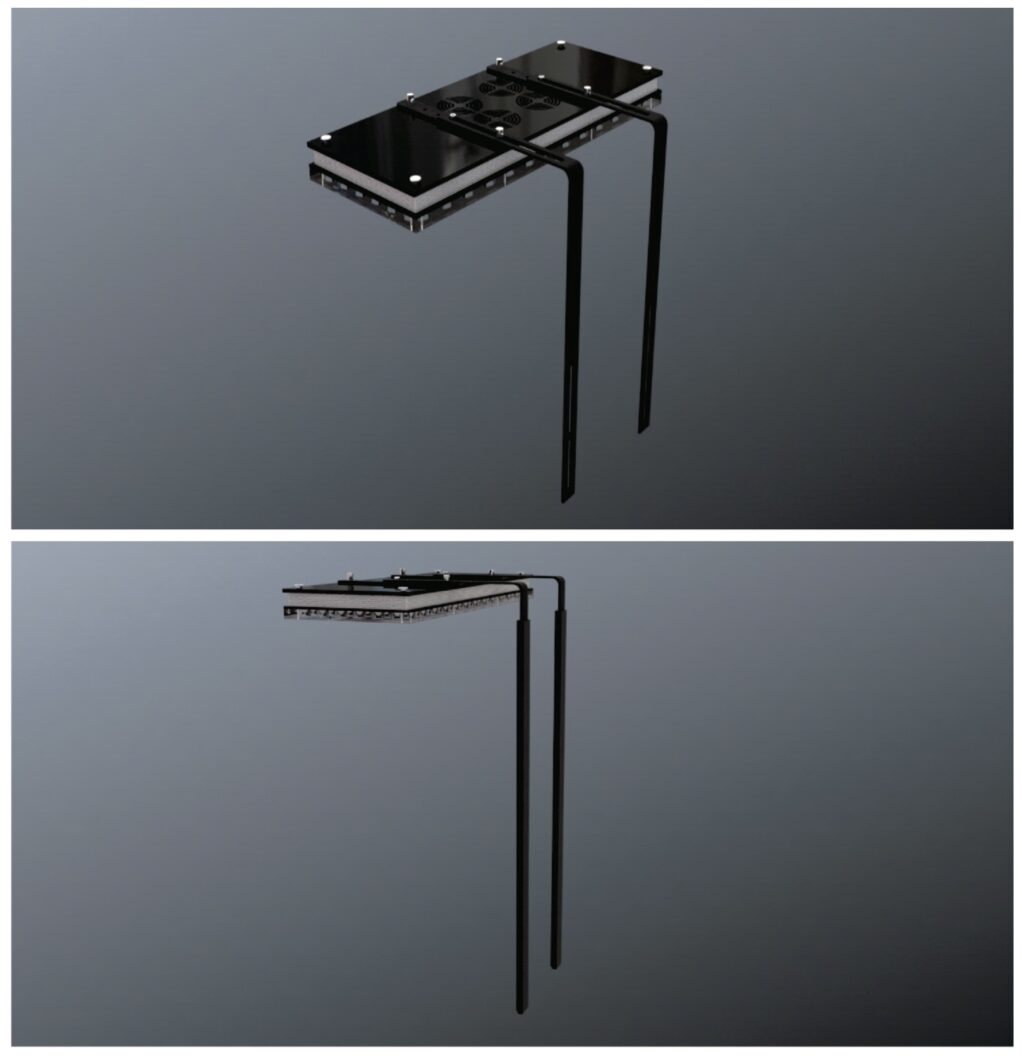
The Orphek Mounting Arm Extension Kit is designed to be attached to the Mounting Arm and provides customers with additional mounting option. It is designed specifically for acrylic or euro-braced tanks, by affixing the mounting arms to the tank stand.
The Extension Mount comes with two Aluminum alloy profile (700mm /27.55 inch), allowing a total extension length of (144cm) 57inch.
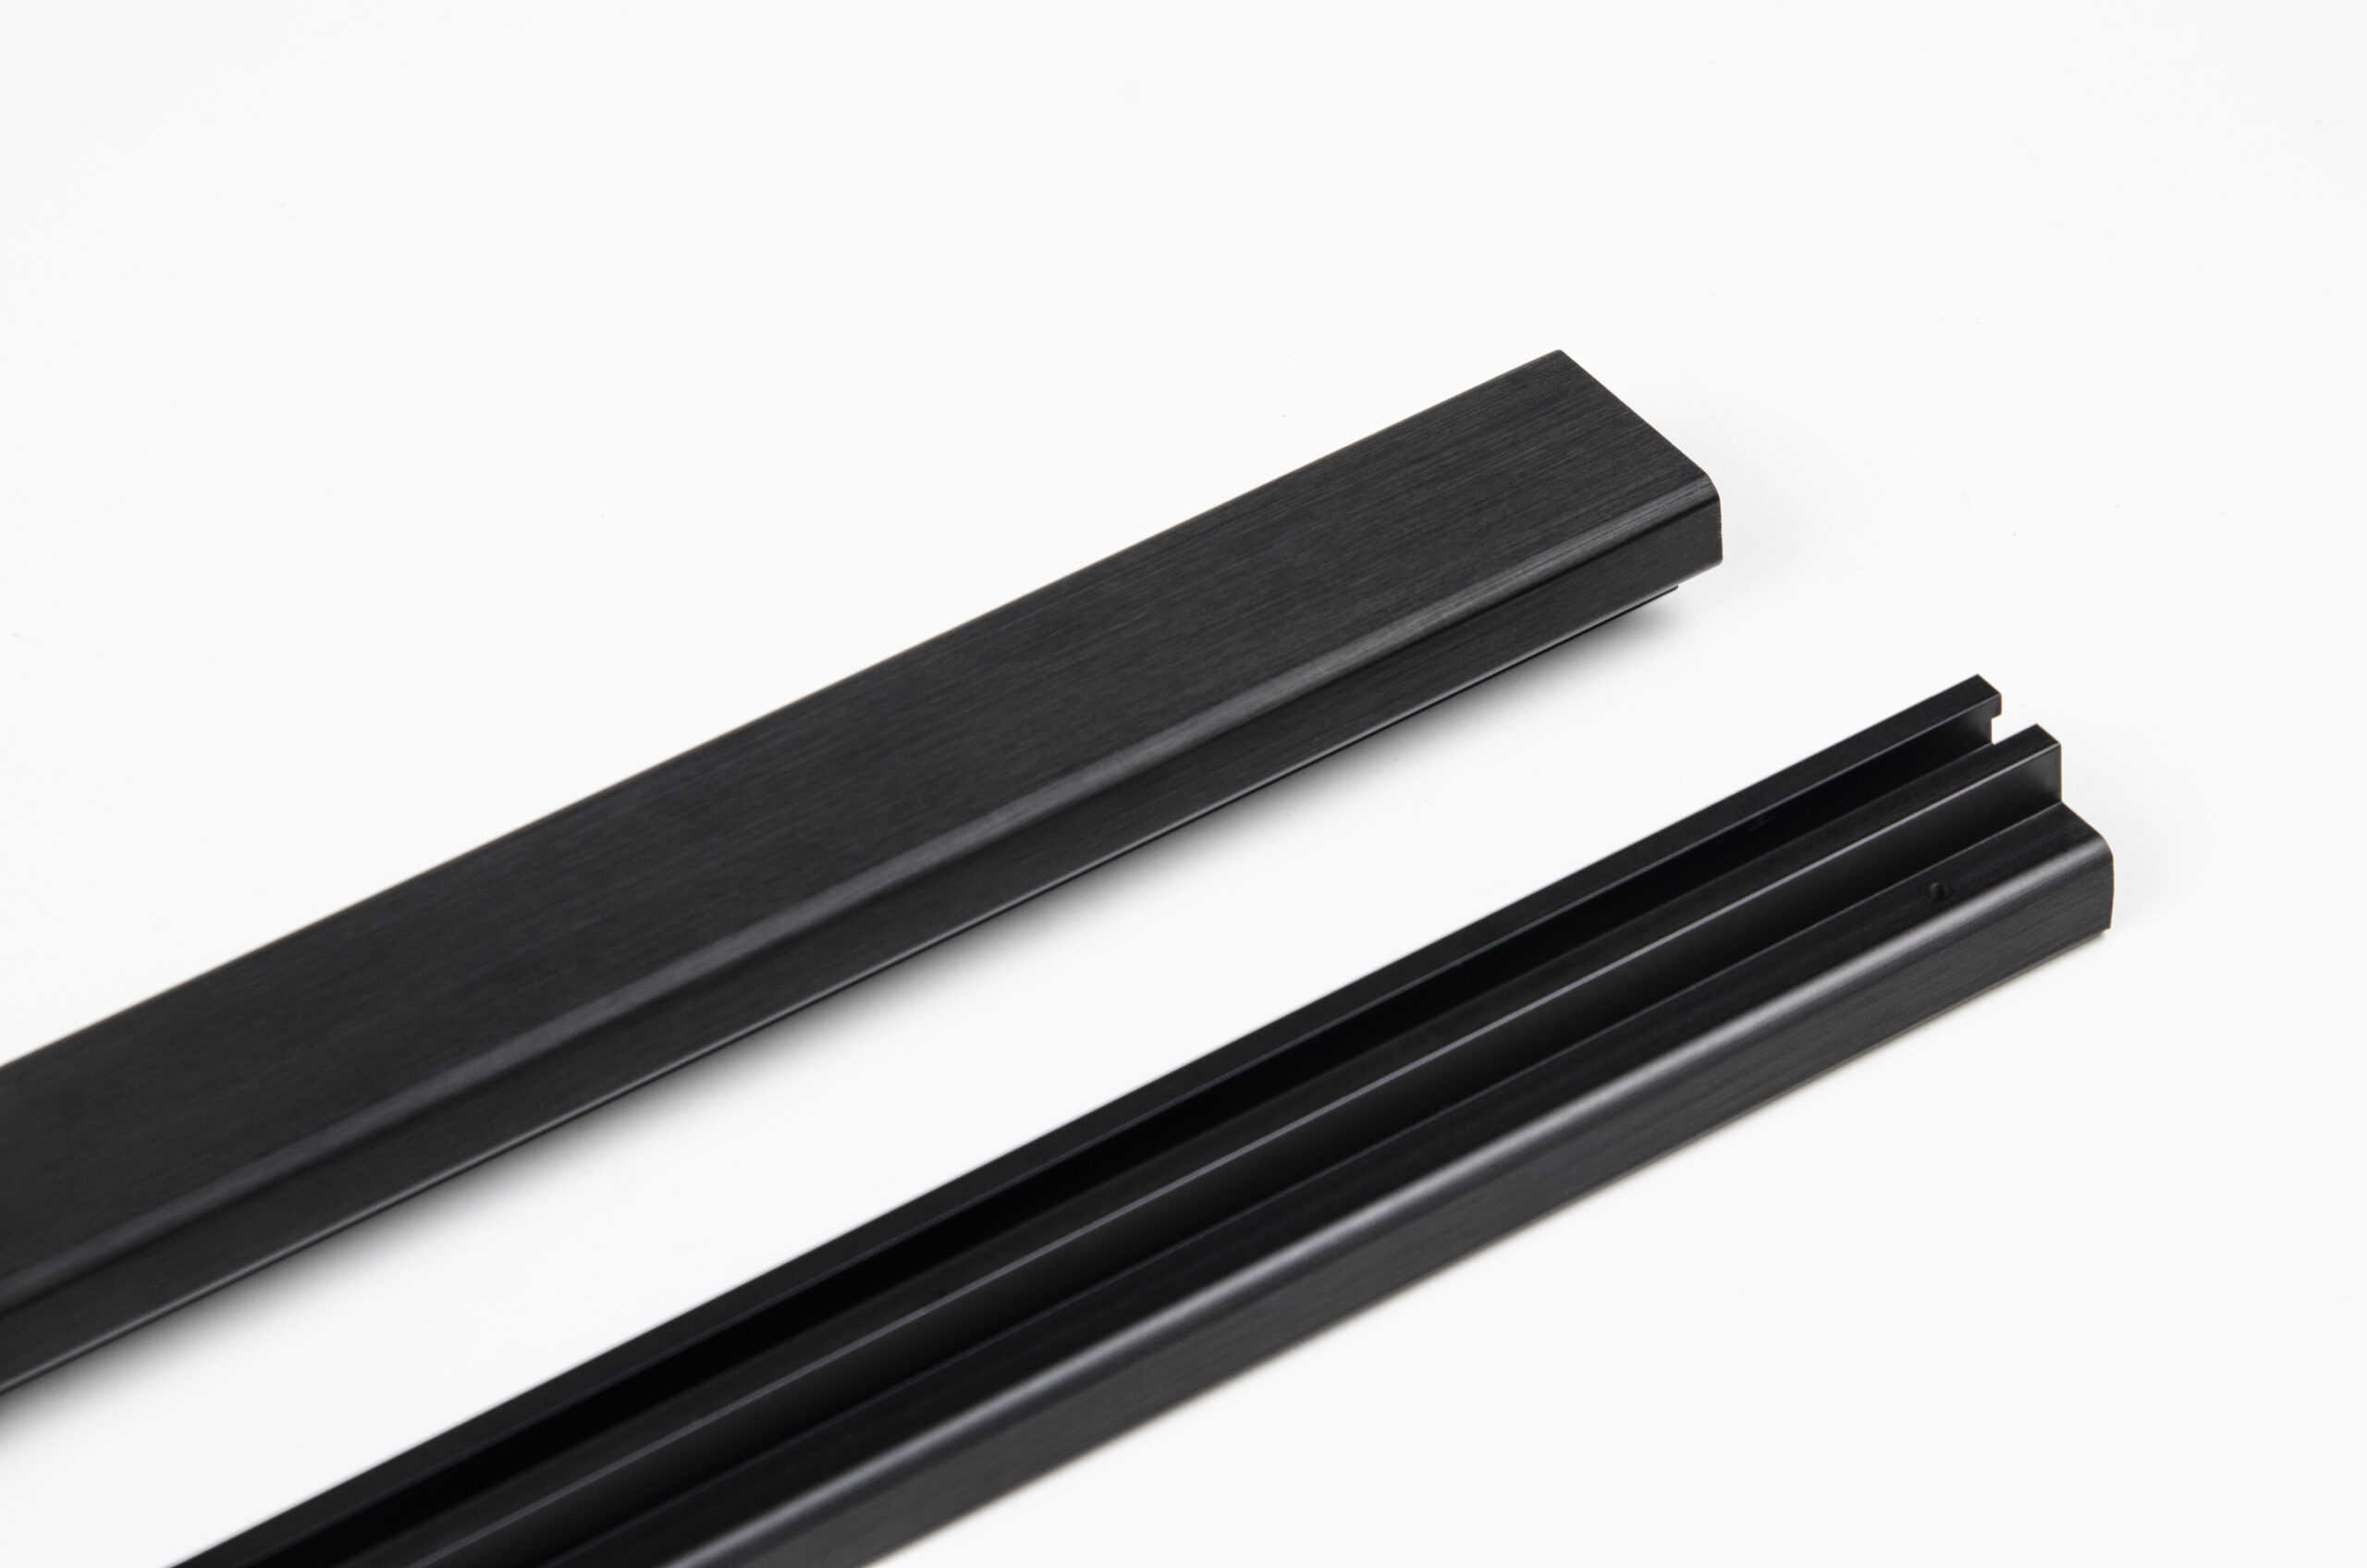
WHAT’S IN THE BOX?
- Aluminum alloy profile extension (2 units)
- M6 60mm stainless steel hex head screws (4 units)
- Metal washer (12units)
- Hex head nut (12 units)
- M3 6mm stainless steel round head screws (4 units)

What is the price?
USD75$
Does this price include shipping?
Yes – Free shipping worldwide express door to door
Do you except PayPal or Credit Card?
Yes – we will send you a PayPal invoice and you can pay with your PayPal account or credit card.
How can I Order?
Get a free consultancy from our sales representative near your location
Email us to contact@orphek.com or fill the contact form here: https://shop.orphek.com/pages/contact
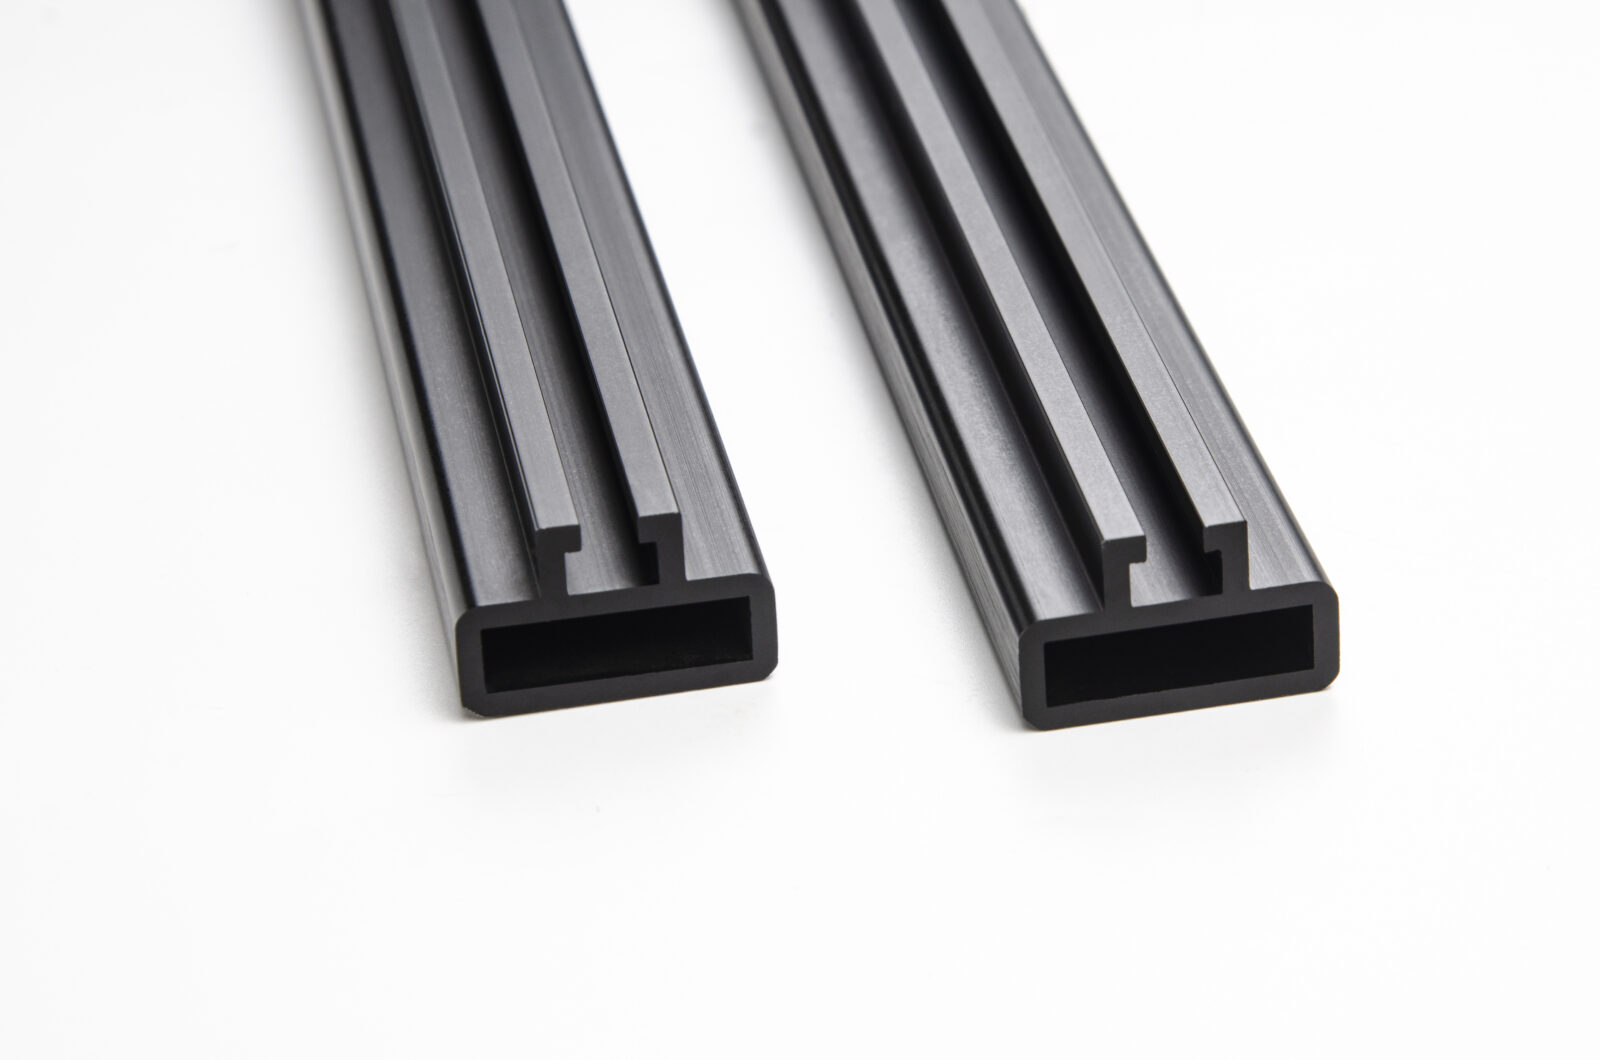
FEATURES
COMPATIBILITY
- Compatible with Atlantik V4, Atlantik V4 Compact and OR2 OR3 LED Bar Lights
- Also compatible with other LED lighting brands
Once you have purchased and received your new Mounting Arm Extension Kit it is time to learn how to mount it, but before doing so there are some important safety guides to follow:
SO LET’S GET STARTED!
Before you start to assemble your Orphek Universal Mounting Arm and its Extension check these safety guides:
- If you have all the components
- Read the Orphek Universal Mounting Arm Manual to make sure you will mount it correctly. You will find it at https://orphek.com/anti-rust-aquarium-light-mounting-arm-kit/
- If your tank glass thickness is compatible (check the Orphek Universal Mounting Arm Manual).
Before you start to install your light in the Orphek Universal Mounting Arm and its Extension:
- Disconnect your light from the electricity.
- Decide which is the best layout for your tank and only then choose where to place the brackets.
- Decide the high you wish to set for your Orphek Universal Mounting Arm according to your corals needs.
Before you start to install your Orphek Universal Mounting Arm on your tank:
- Check if all the parts assembled are perfectly placed and screwed, so it won’t dismantle accidentally.
- Check if you have the skills and physical strength to mount it by yourself or you need a second hand to help you.
Assembly of the Orphek Universal Mounting Arms & Extension
We suggest you follow the order below if you haven’t installed your Orphek Universal Mounting Arm yet, in that case follow the instructions of the Orphek Universal Mounting Arm Manual at https://orphek.com/anti-rust-aquarium-light-mounting-arm-kit/
IMPORTANT: Two people are required to mount the light in the cabinet. Orphek recommends that you follow this requirement to avoid accidents of personal nature or involving your Orphek solution.
- Assembly of the mounting arm brackets parts and attachment to your light (check the Orphek Universal Mounting Arm Manual how to do it)
- Attachment of the Orphek Extension for the Mounting Arm (check the steps below how to do it)
- Connection of both parts together and attachment to the cabinet.
HOW TO ATTACH THE EXTENSION TO YOUR ORPHEK UNIVERSAL MOUNTING ARM
STEP 1 SKIP this step if you are mounting your light for the first time
If your Orphek Universal Mounting Arm was already attached to the glass of your tank you will have to detach it first.
STEP 2 Insert the Orphek Universal Mounting Arm into the Mounting Arm Extension bracket as seen in the picture.
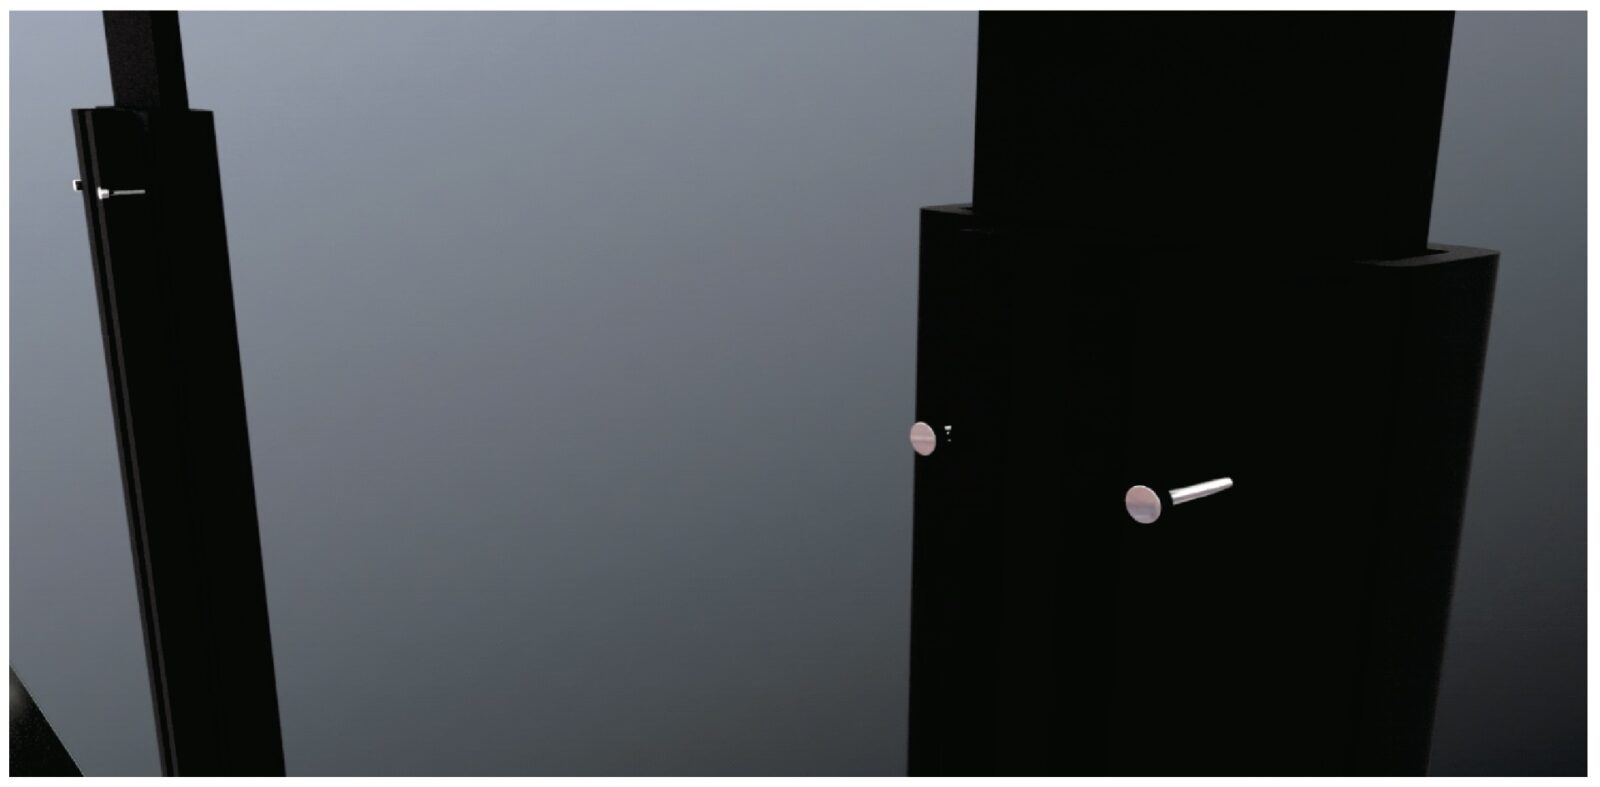
STEP 3 Use the 4 M3 6mm round head screws to fix the Mounting Extension Bracket on the Orphek Universal Mounting Arm. Make sure it is correctly placed and fixed so it won’t fall.
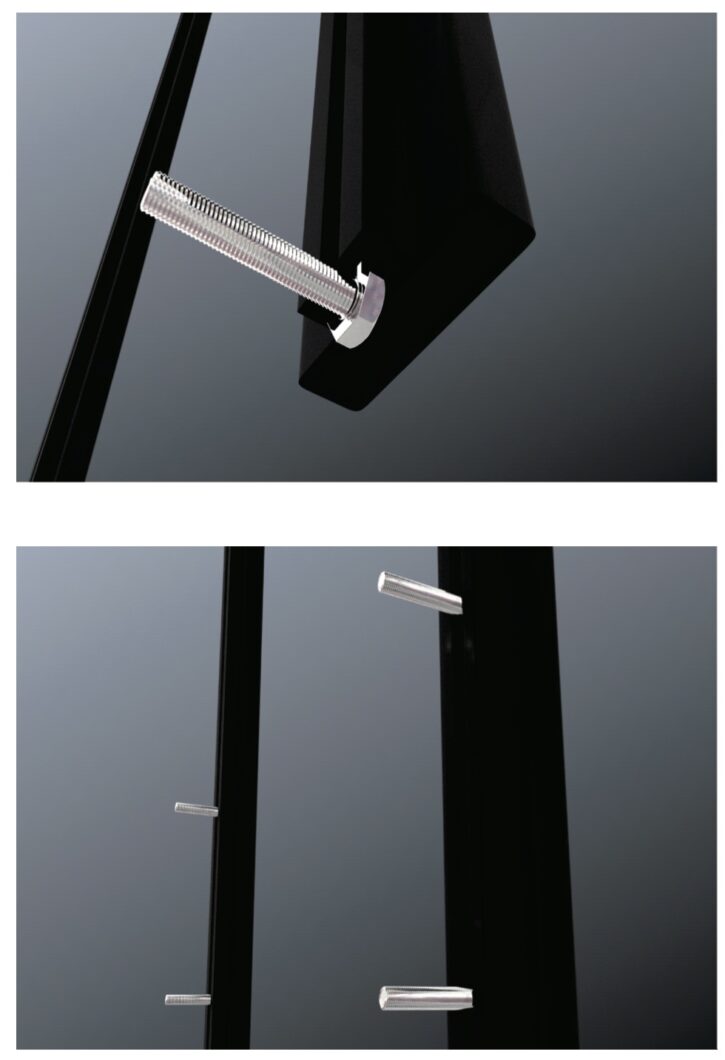
STEP 4 Insert the 4 units of the M6 60mm hex head screws through the groove and fix them exactly in the place desired/planned. Make sure it is correctly placed and fixed so it won’t fall.
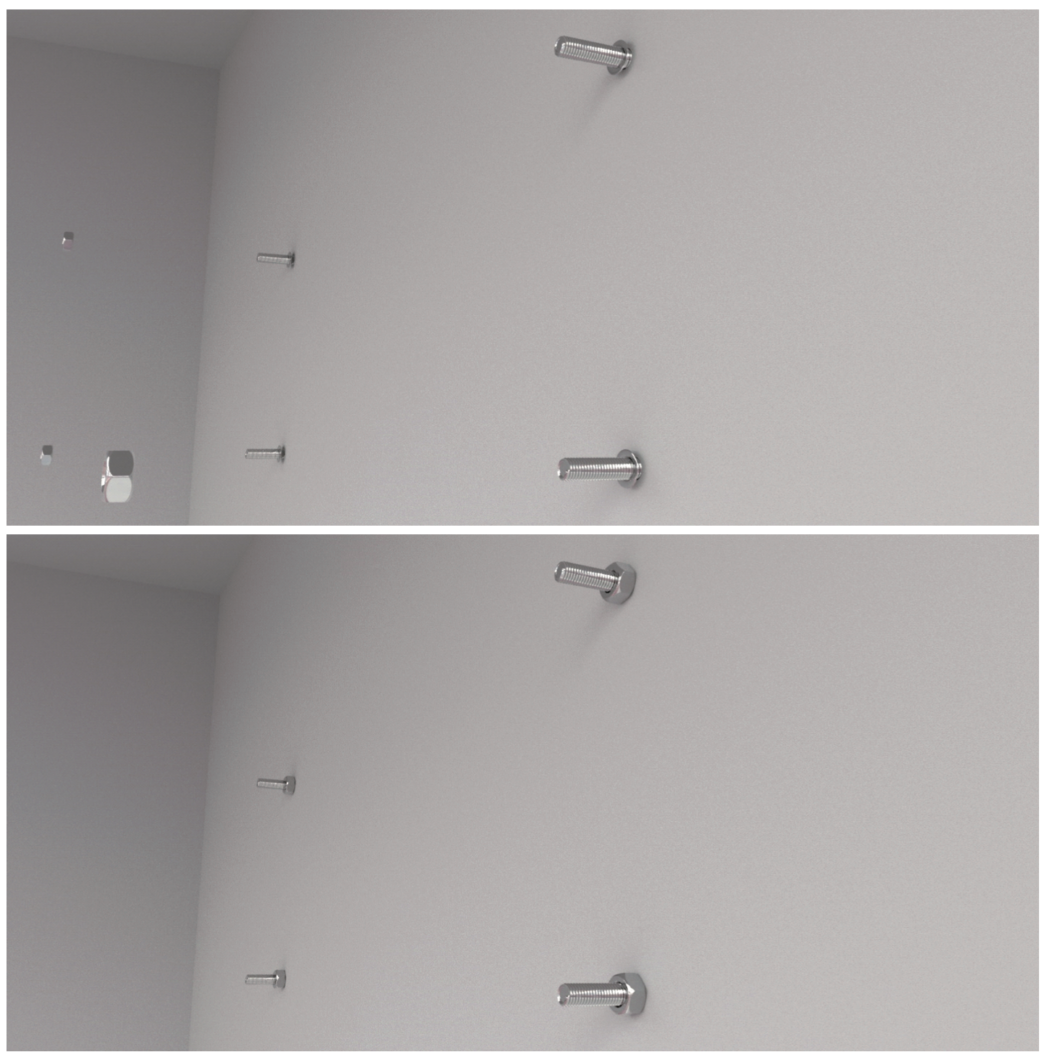
STEP 5 Fix the Mounting Arm Extension Bracket with the light on your tank.
And finally…
We suggest to fix the hex head screws with the hex head nut on both two side of the tank. This can help to adjust the space between the tank mounting surface and the tank edge.
DISCLAIMER
Orphek had specifically advised the standard weight that can be hanged by the Orphek Mounting Arm Kit and the compatible thickness of the glass of the aquarium and how to assemble and install this product.
(Orphek Universal Mounting Arm Manual at https://orphek.com/anti-rust-aquarium-light-mounting-arm-kit/ ).
Orphek also advised that this is a 4 hands (2 people) job.
Kindly be reminded that Orphek only warrant and is responsible for the product itself and not for the aquarium of clients or corals. Any damages resulting from the installation or use/misuse of the Orphek Mounting Arm Kit or Orphek Mounting Arm Extension Kit is the sole responsibility of the purchaser.
