Upgrading to Atlantik V4 from versions V1, V2, V2.1, V3 and V3+
Step by step with pictures explaining how to Upgrade the Atlantik V4 from Older version
How to change the WIFI Module and the PC card and the PCB of LEDs(20181106)
Clients comment :
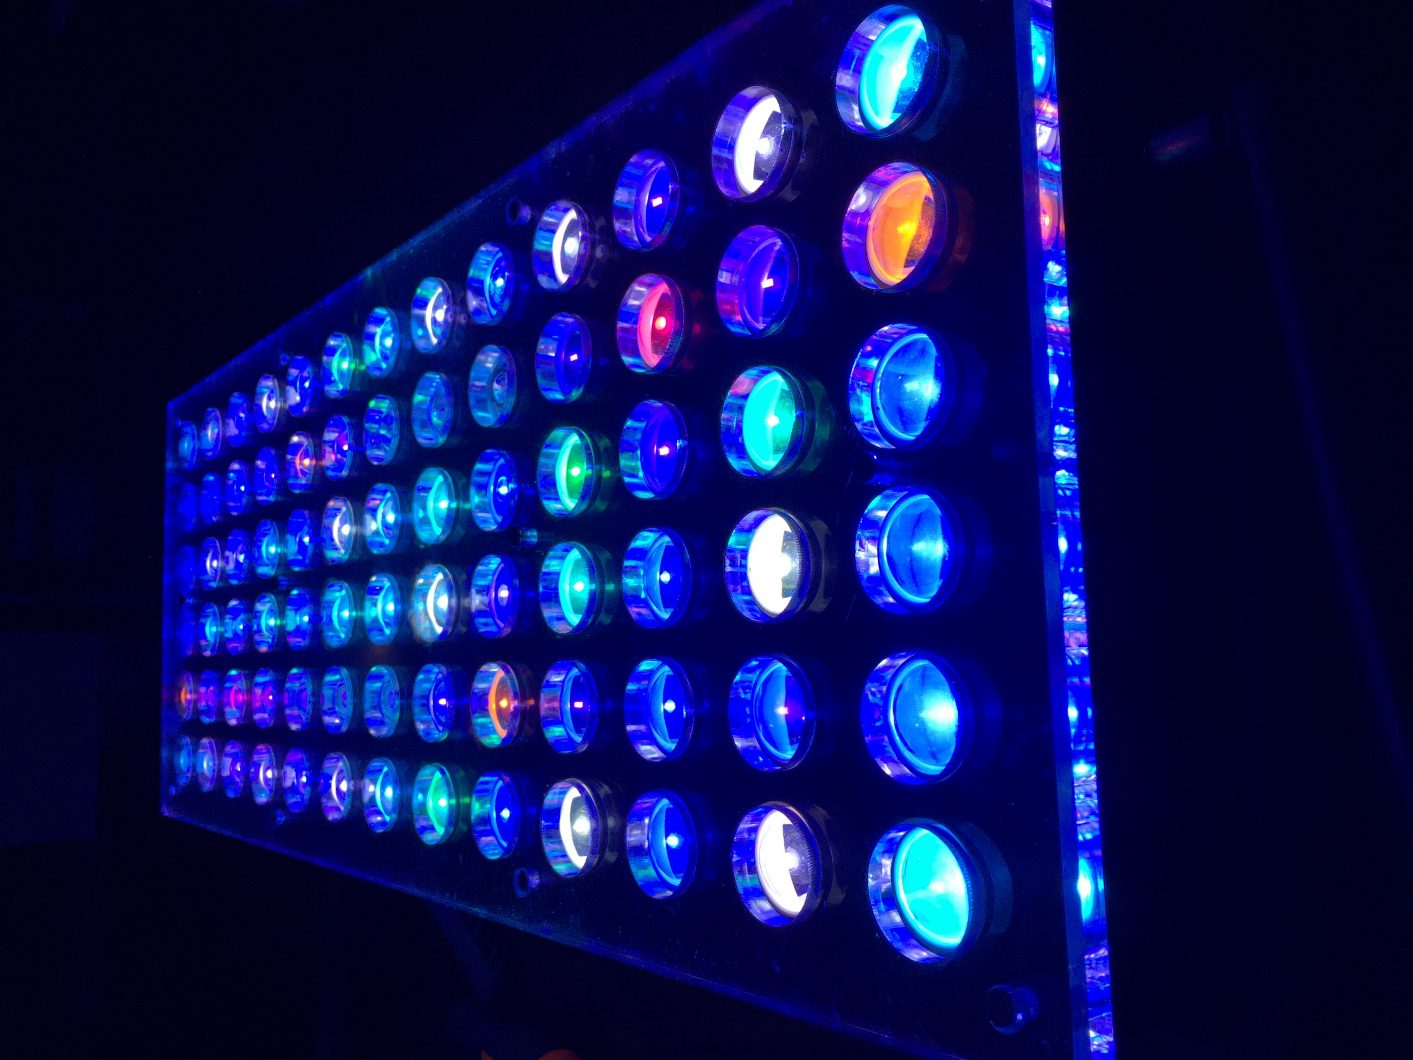
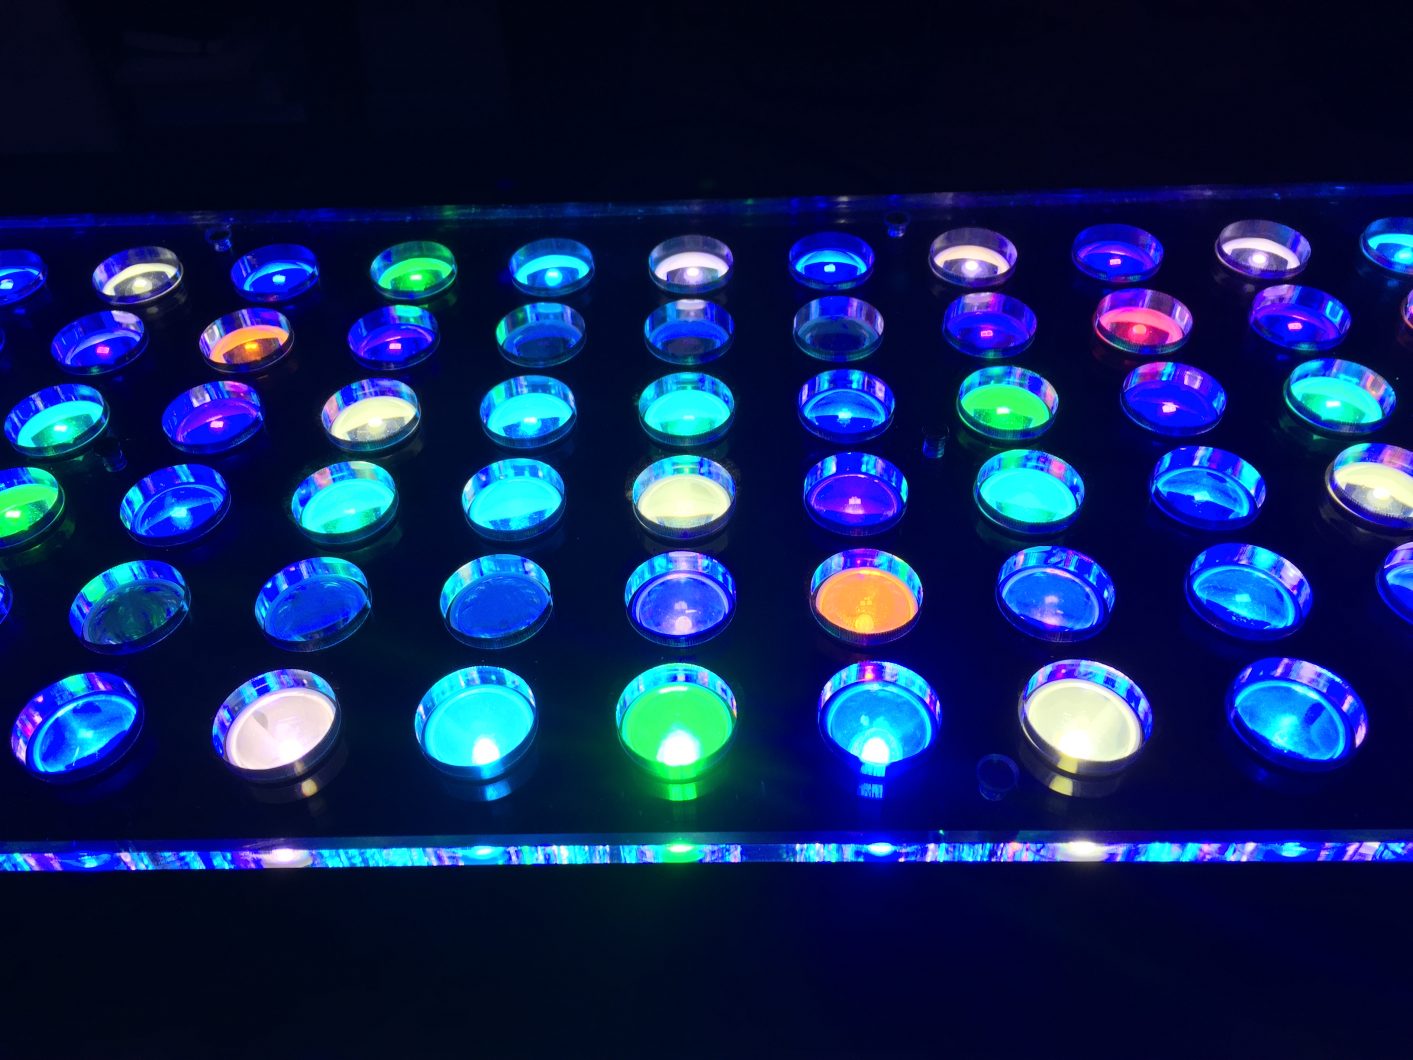
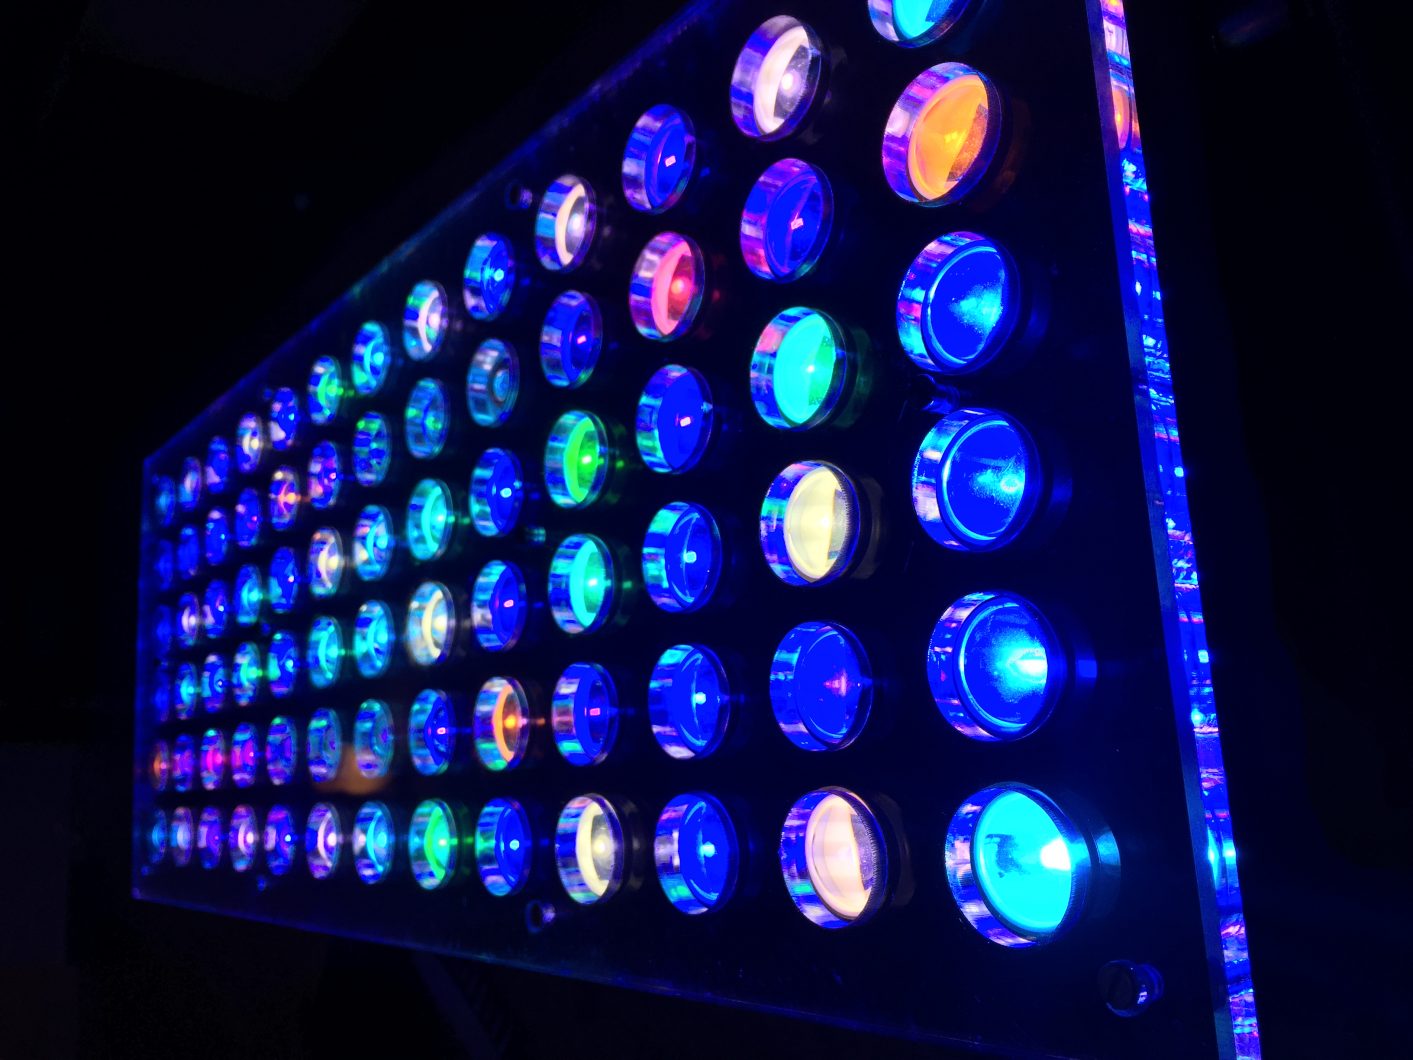
The lights are up and running. The upgrade process went smoothly and didn’t take too long.The new spectrum is amazing. My oranges, yellows, reds and greens corals are a lot brighter and truly glow! I can’t believe they are the same corals and what I have been missing out on.I will be working on editing the video I took during the upgrade. I had no problems with the gateway setup. It is so nice to finally be able to control the lights on my iPhone, thank you!Alan
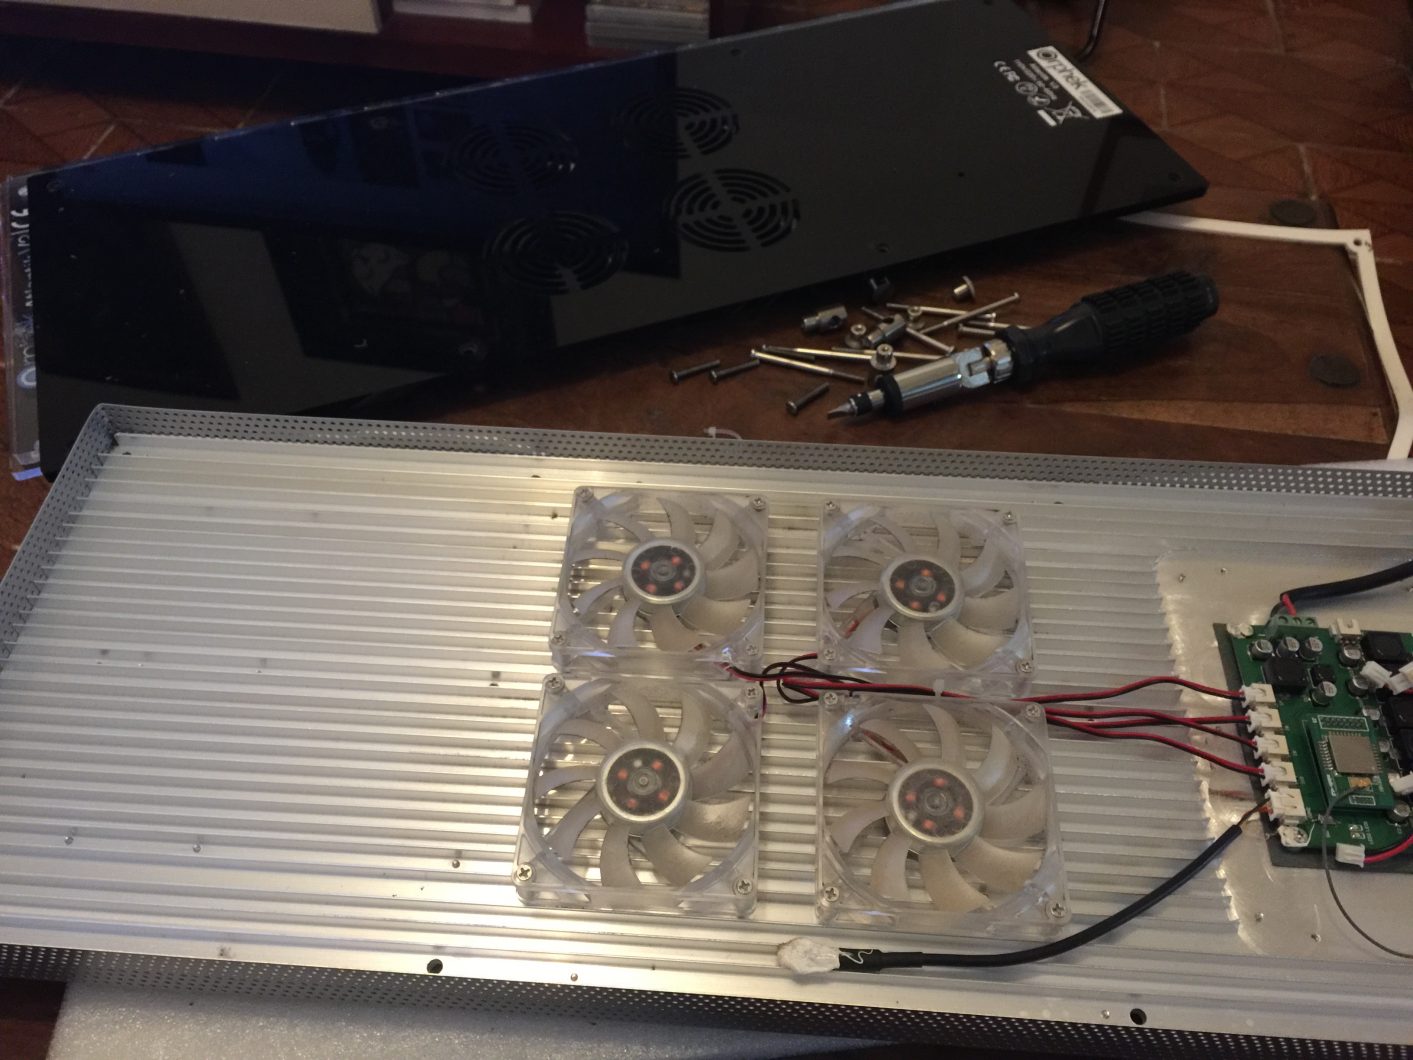
Note: Upgrading from Atlantik V1 version requires replacing the exhaust fans.
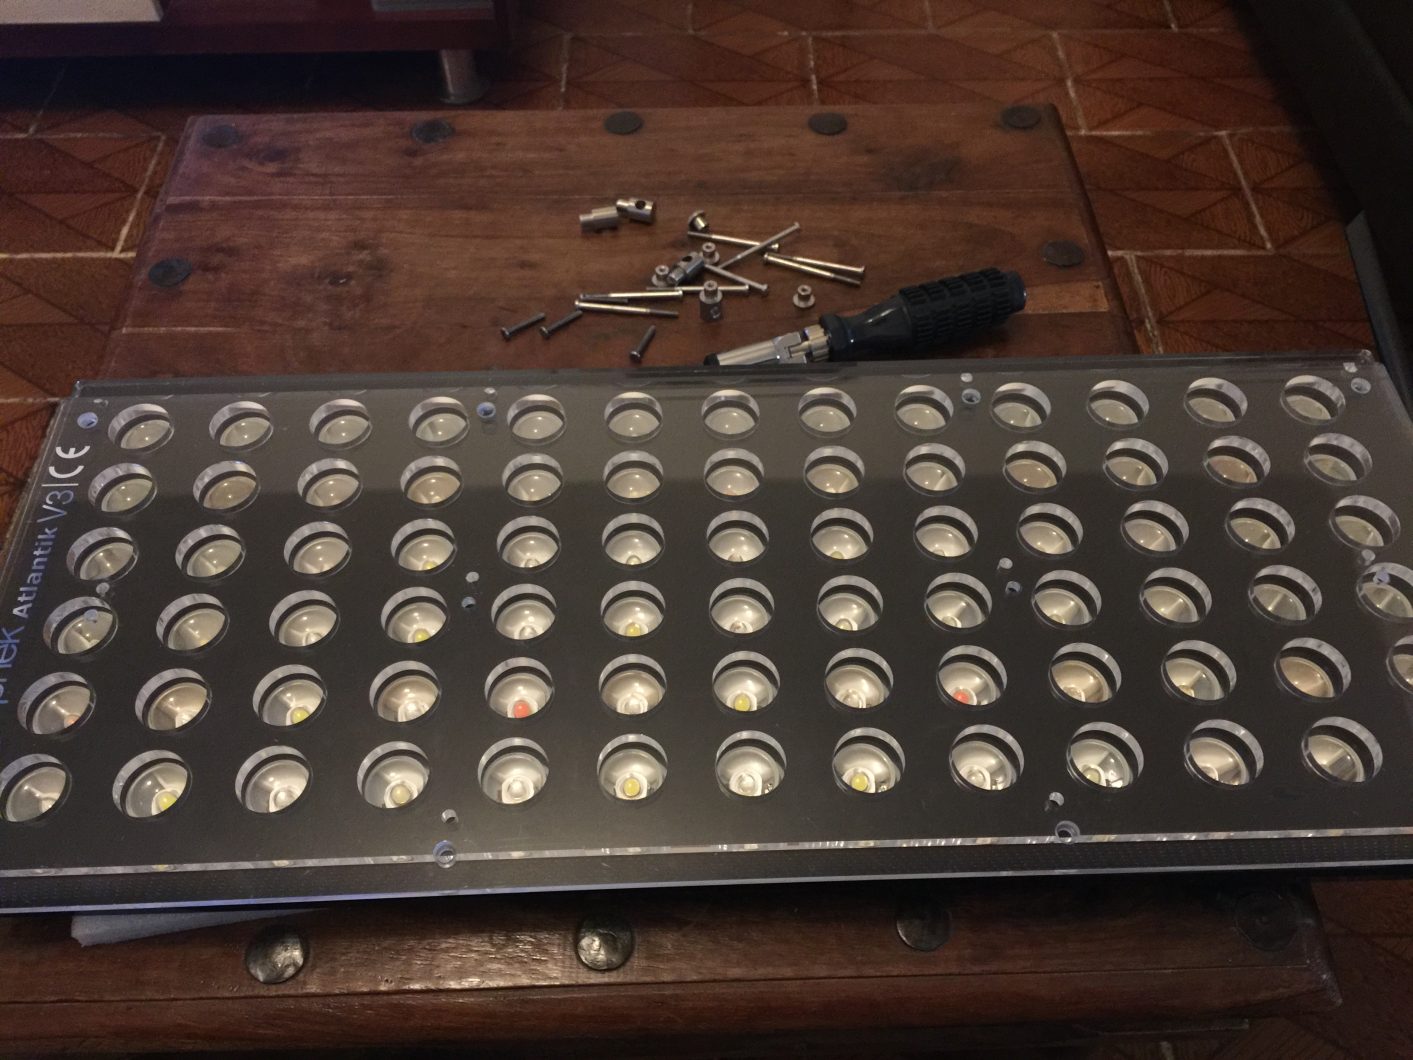
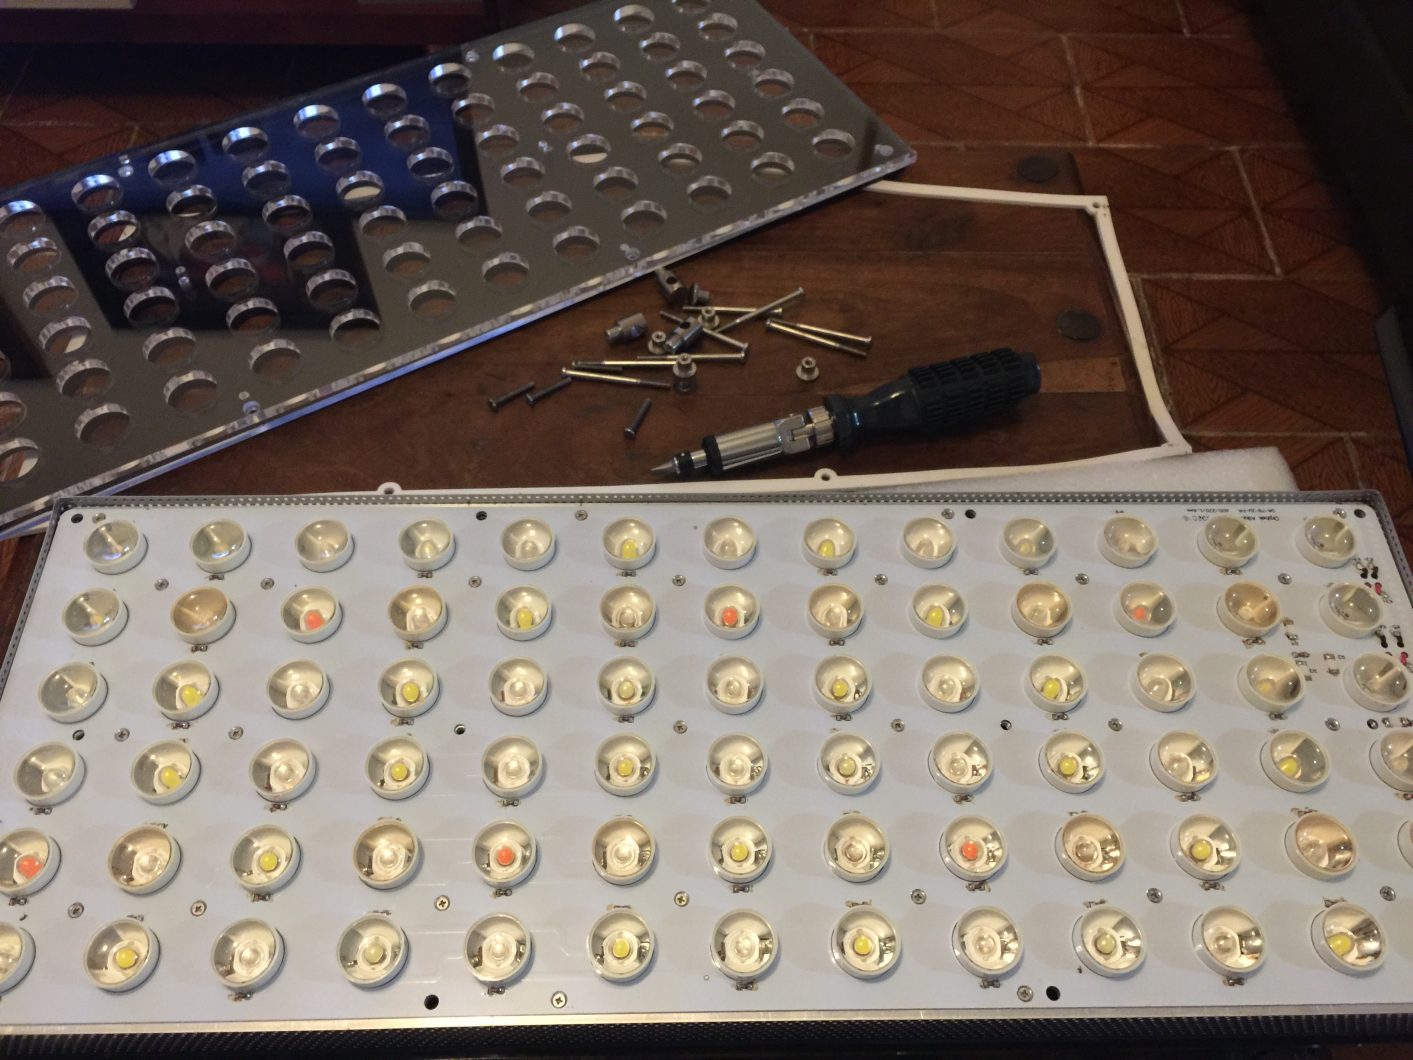
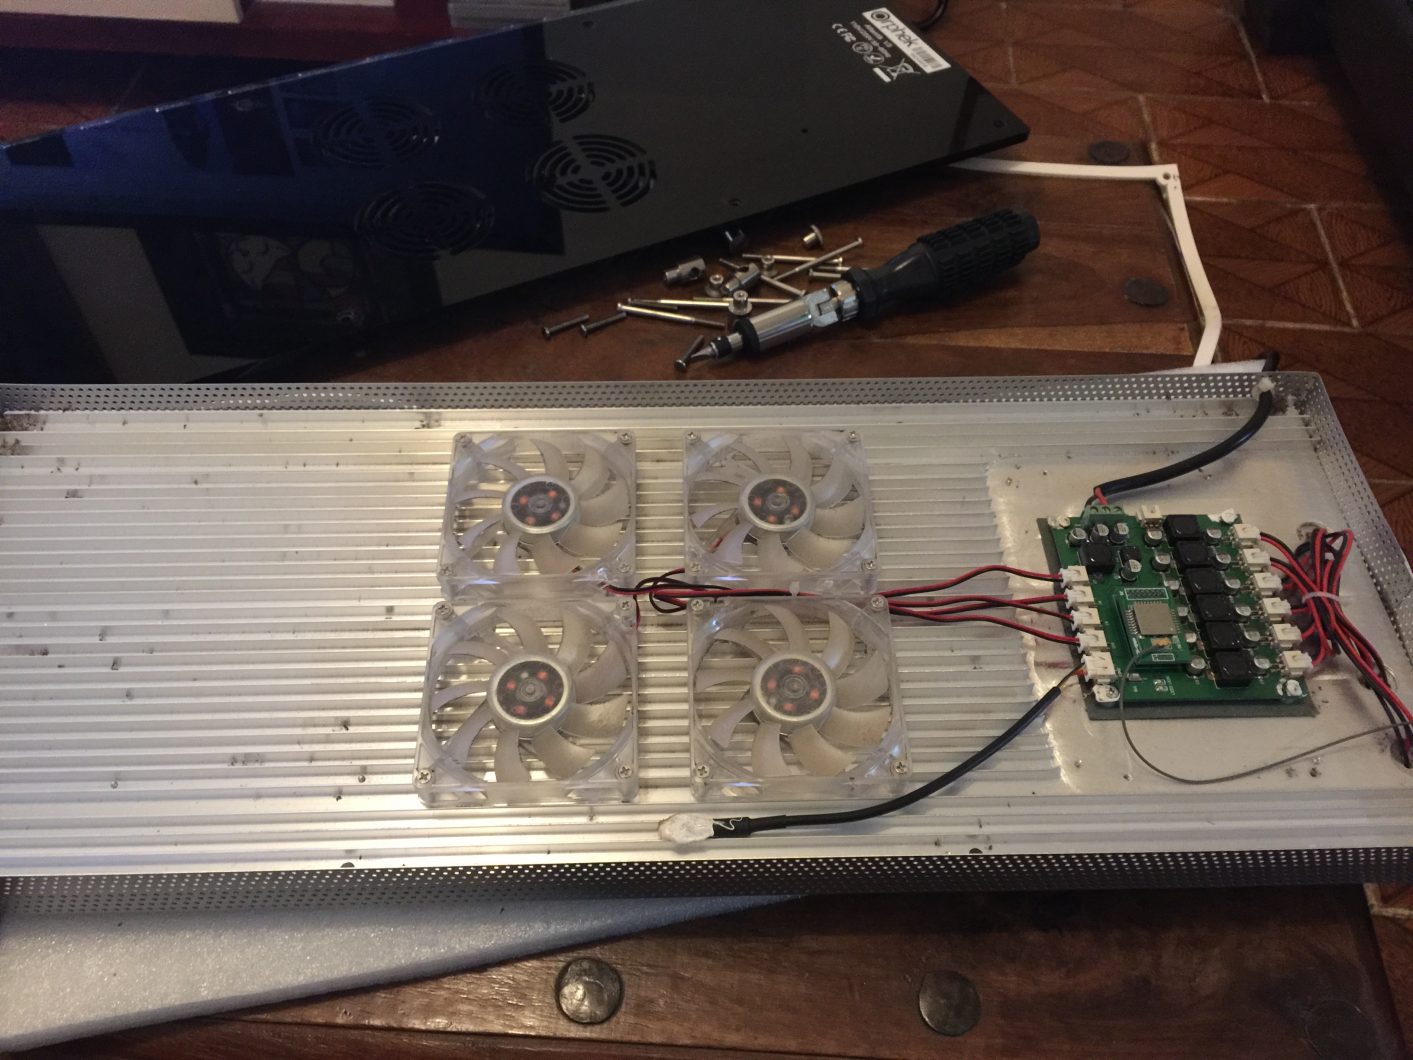
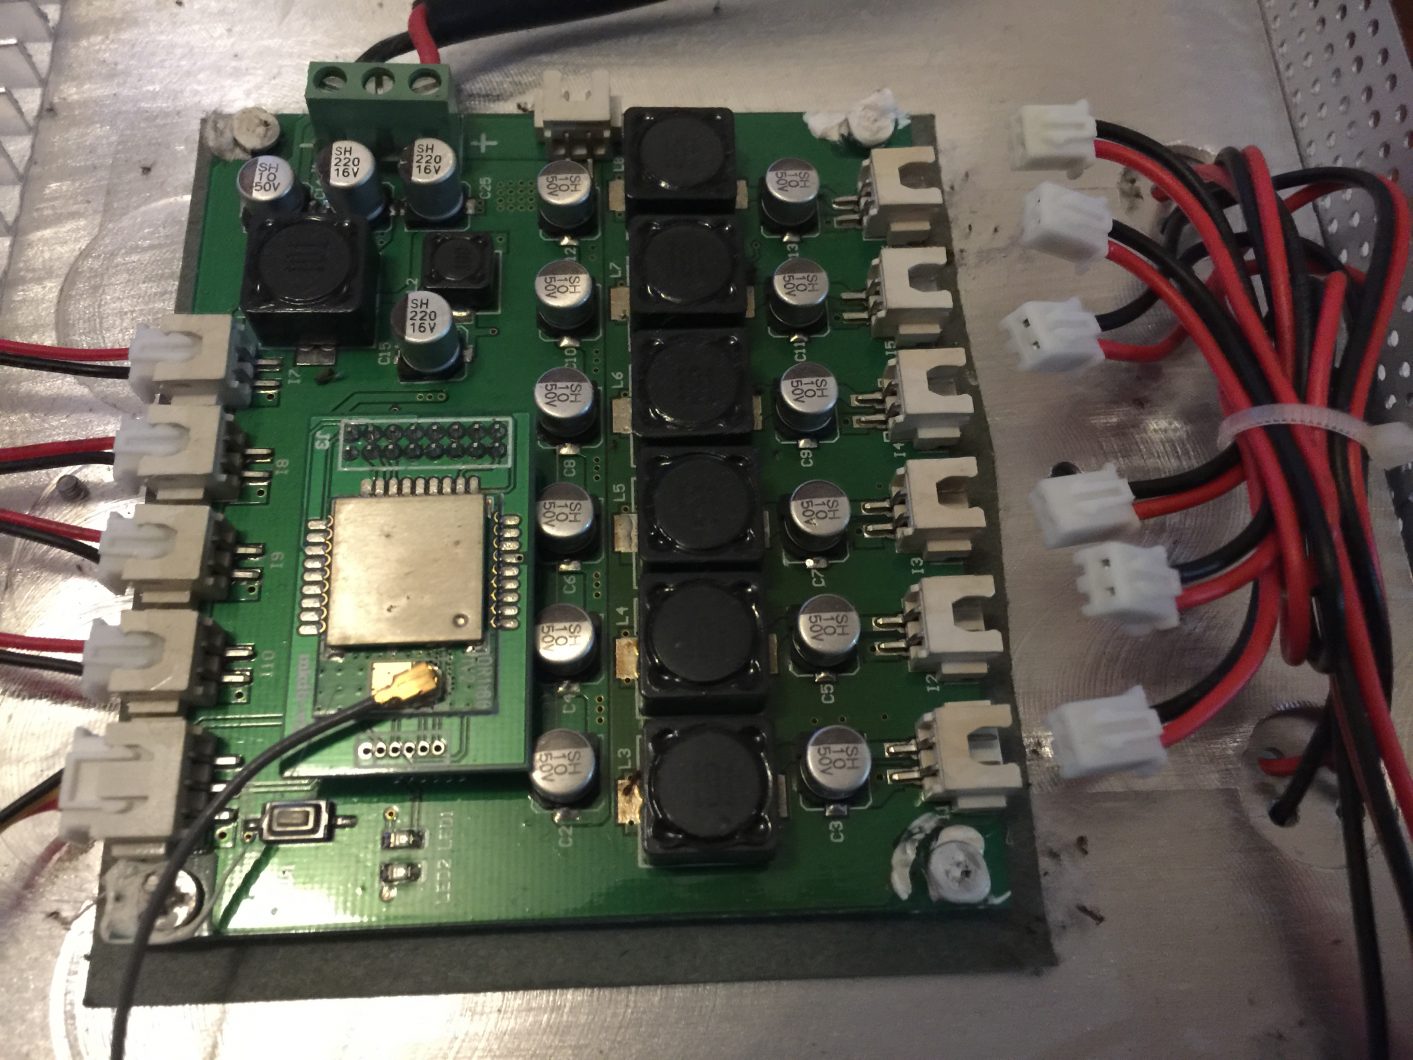
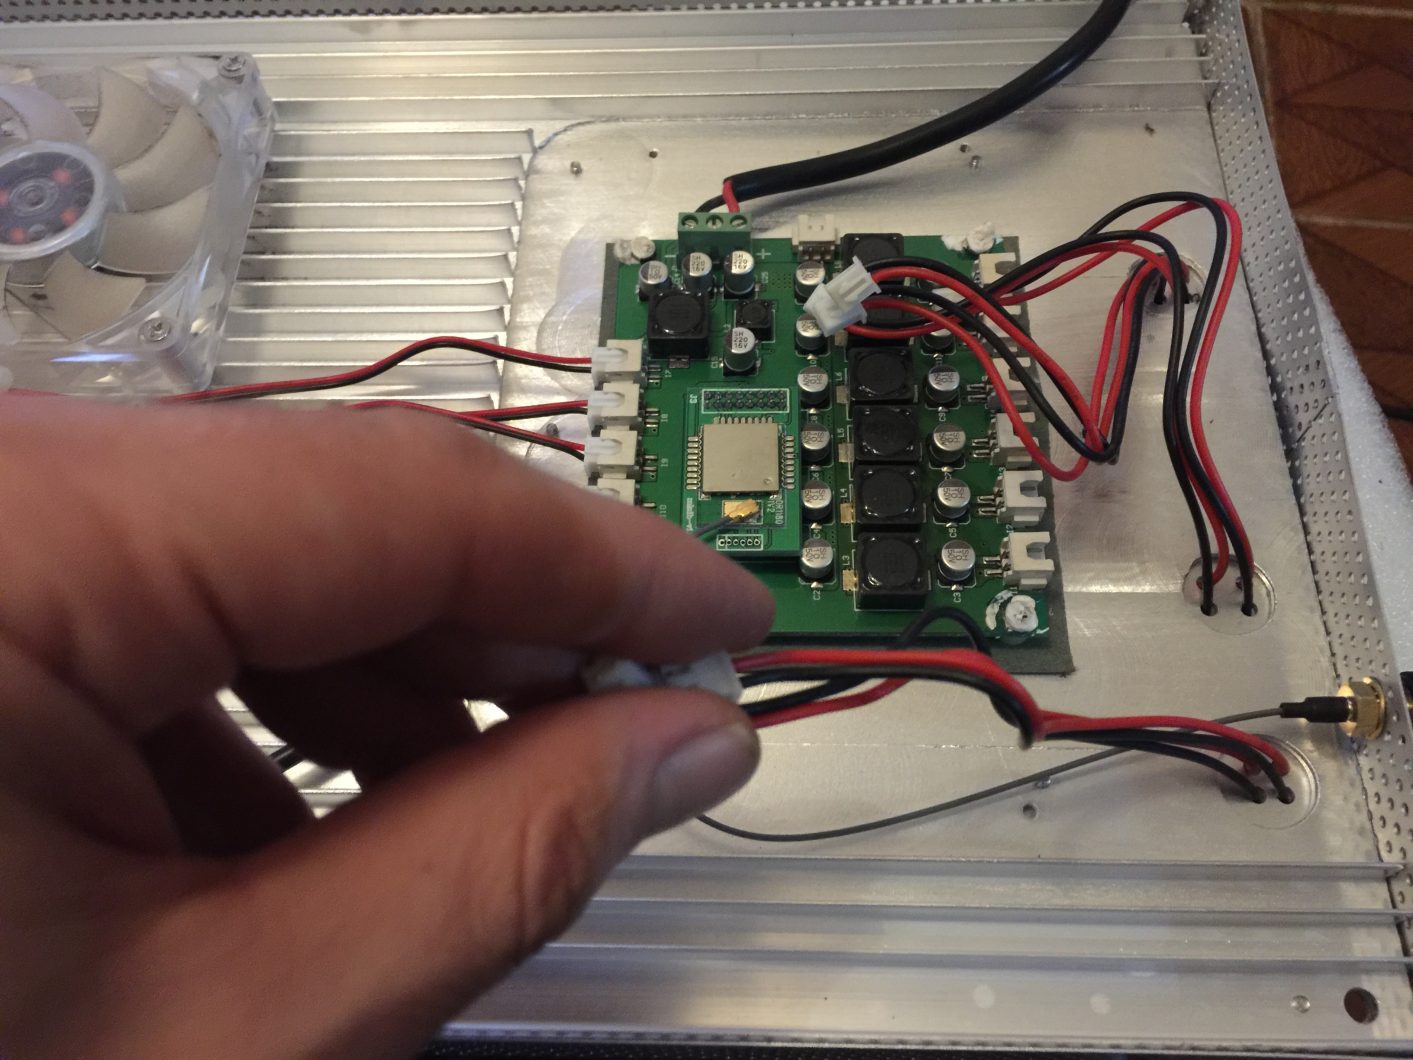
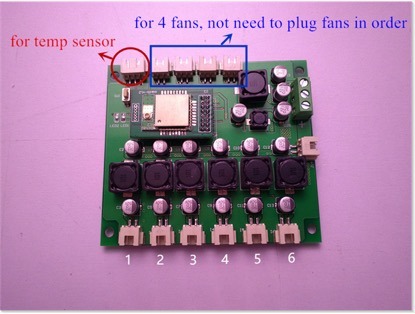
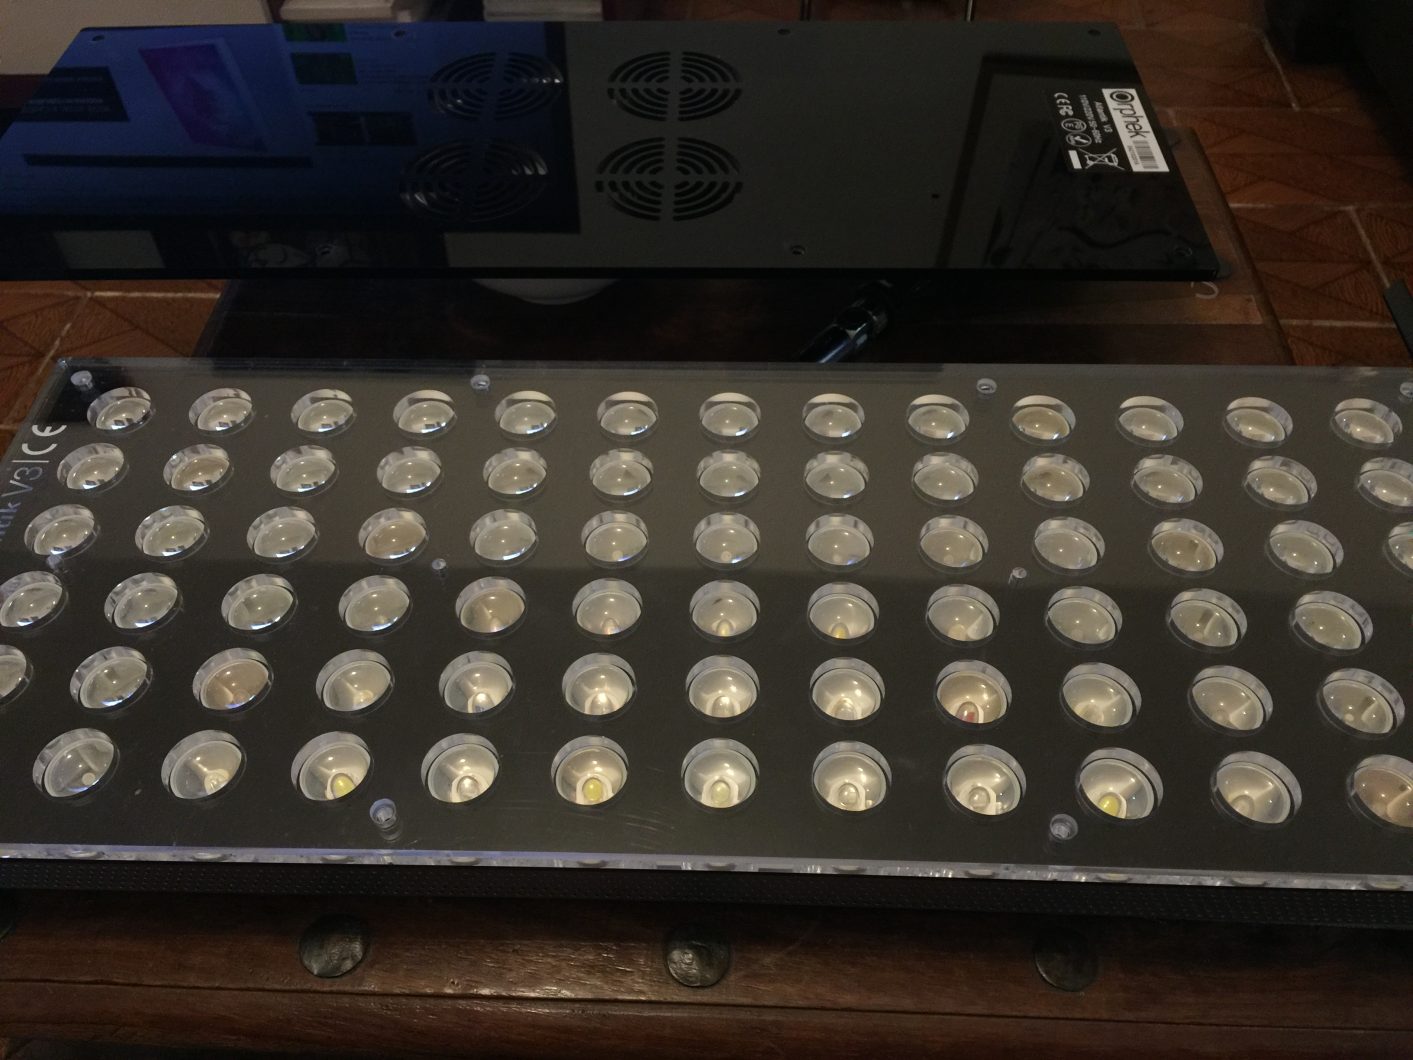
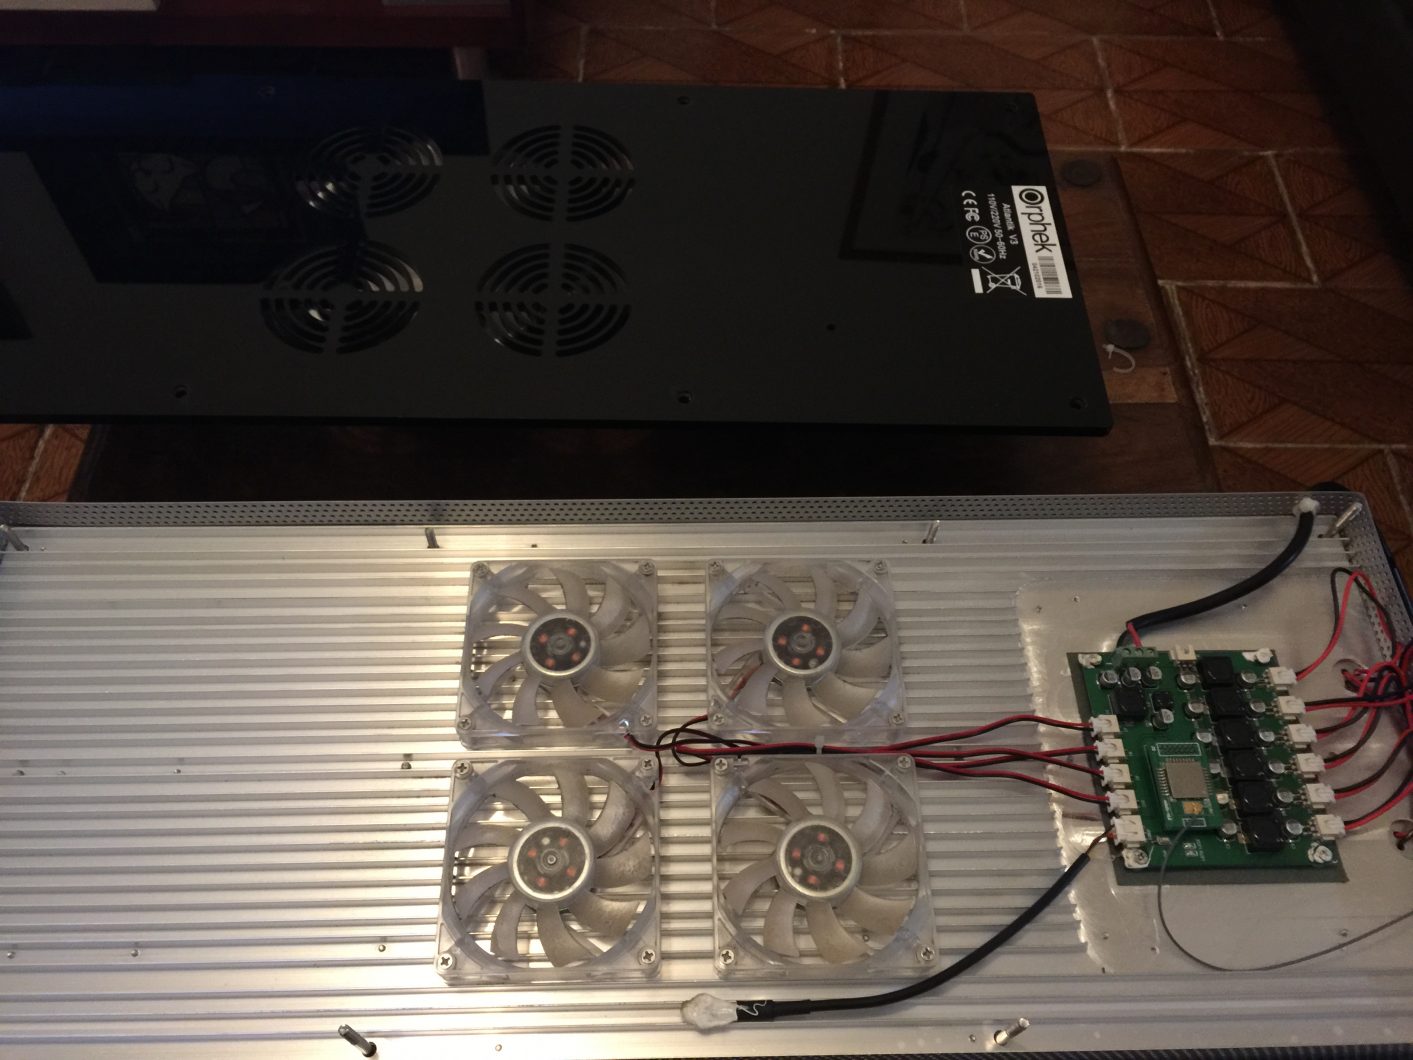
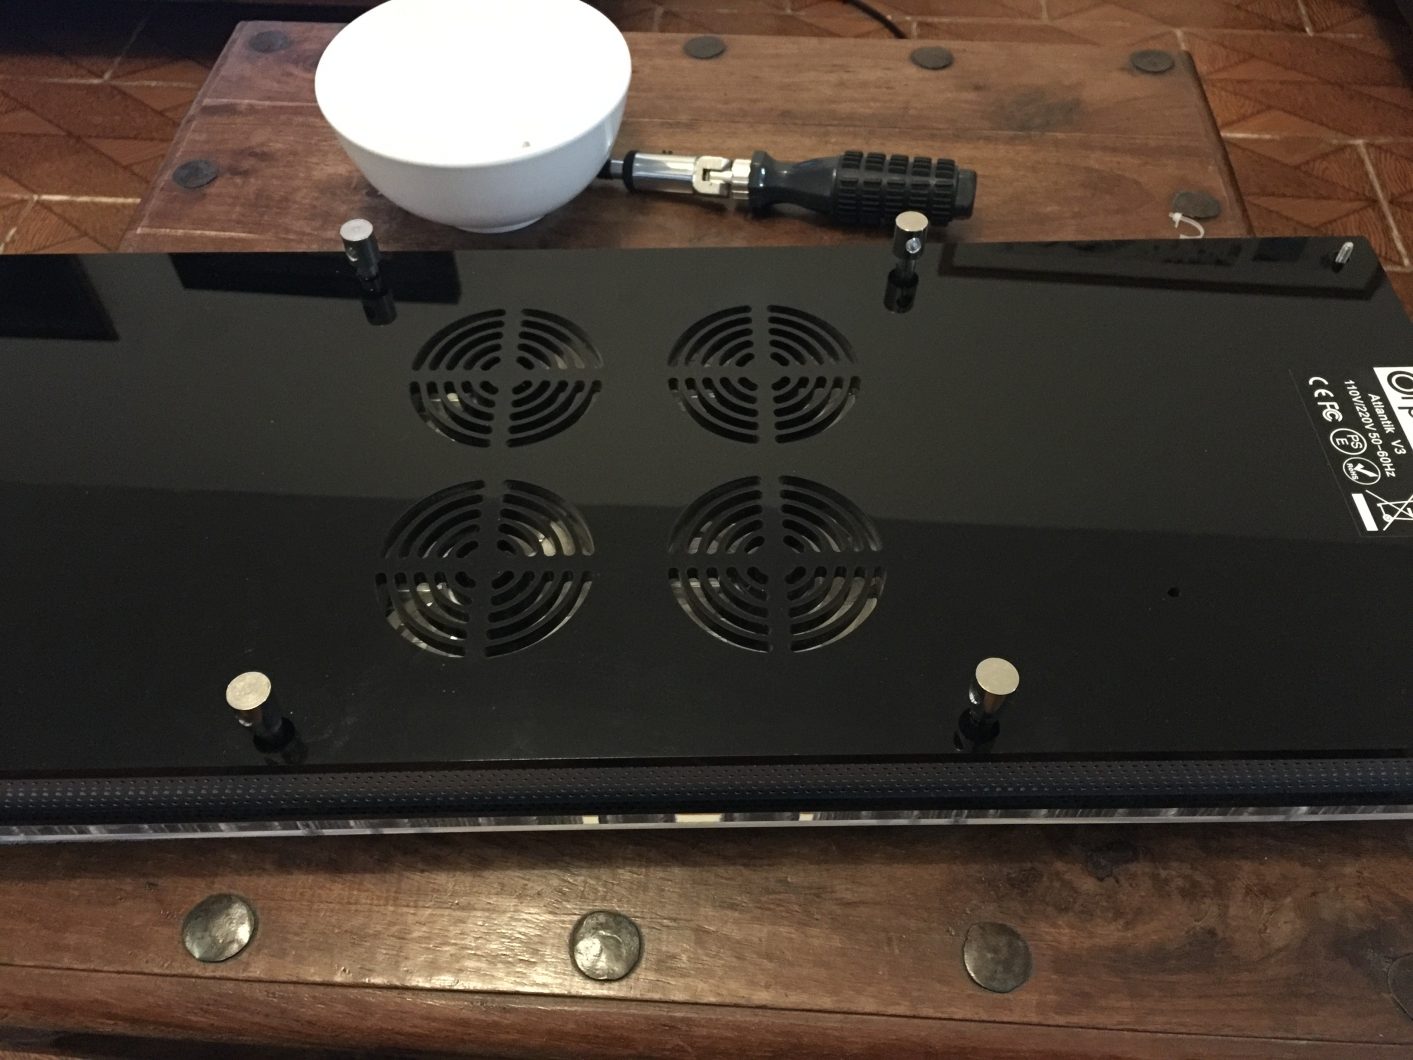
1.Remove the eight screws and nuts that hold the unit together. Lift the fan acrylic (top piece) and disconnect the six cables from the PCB that are going to the LED board.
You may want to mark or label these wires so they go back to their proper sockets when assembling the new LED board later.
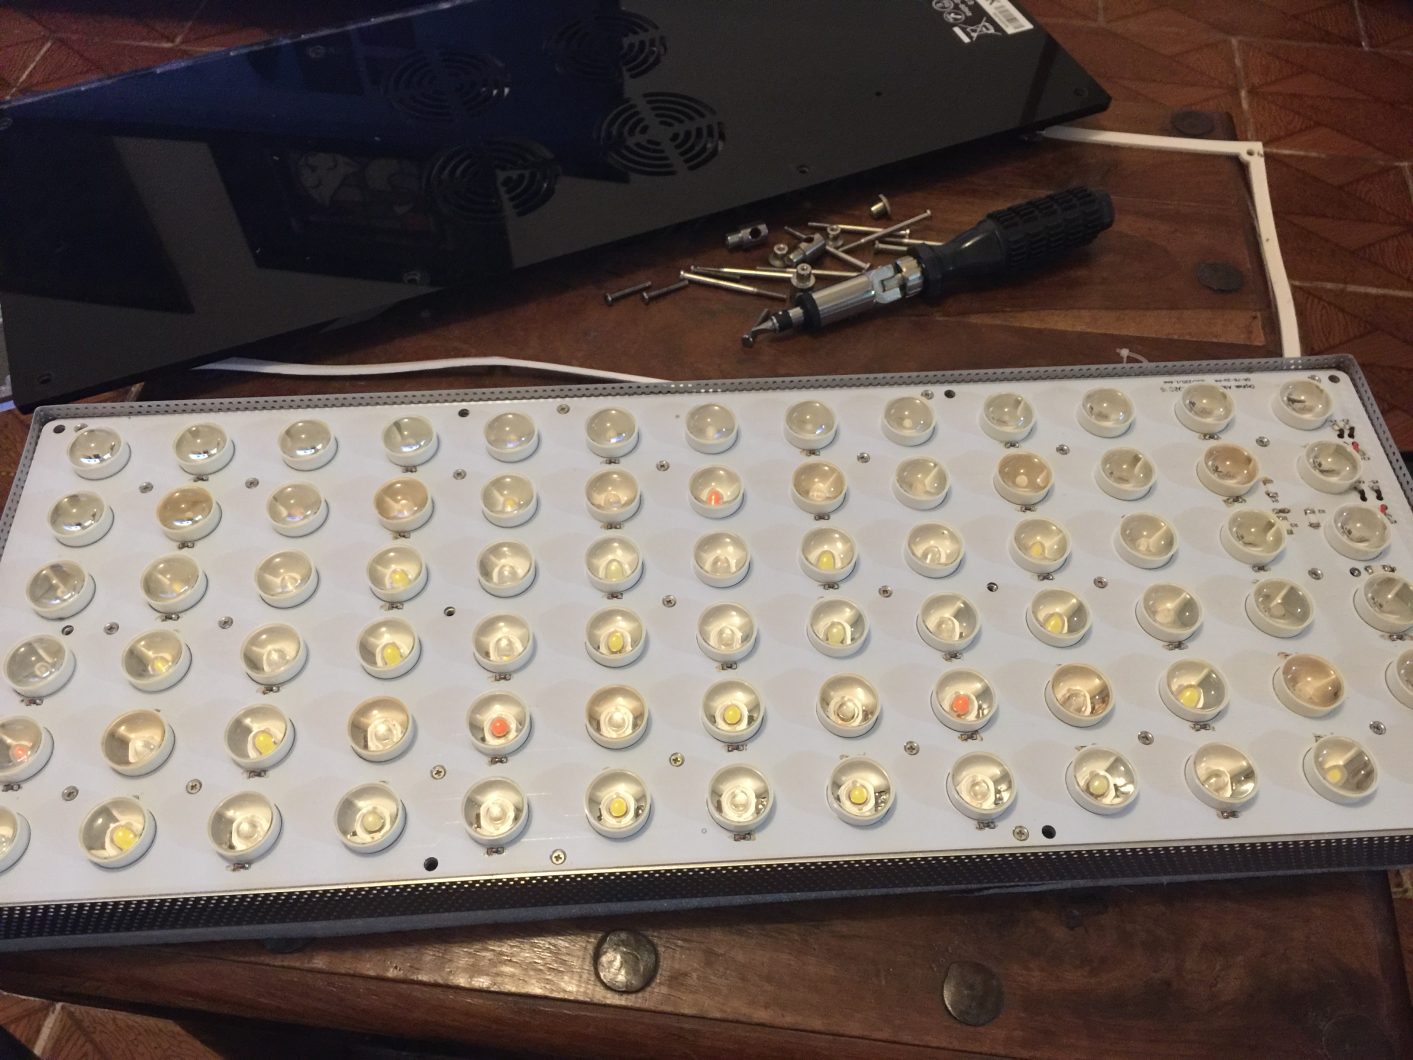
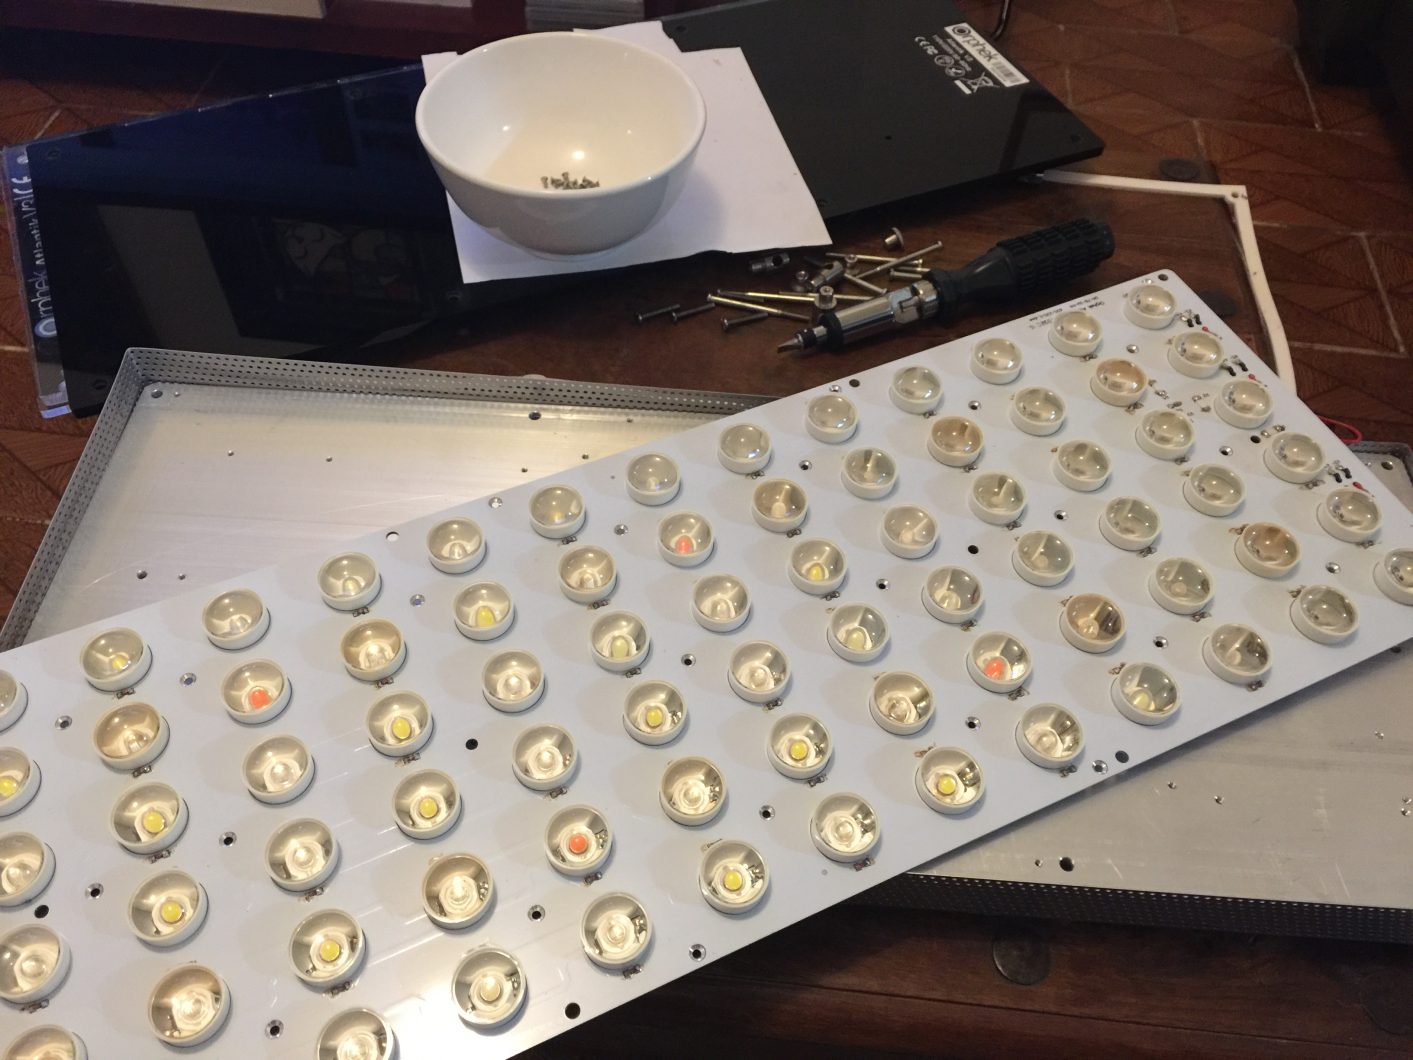
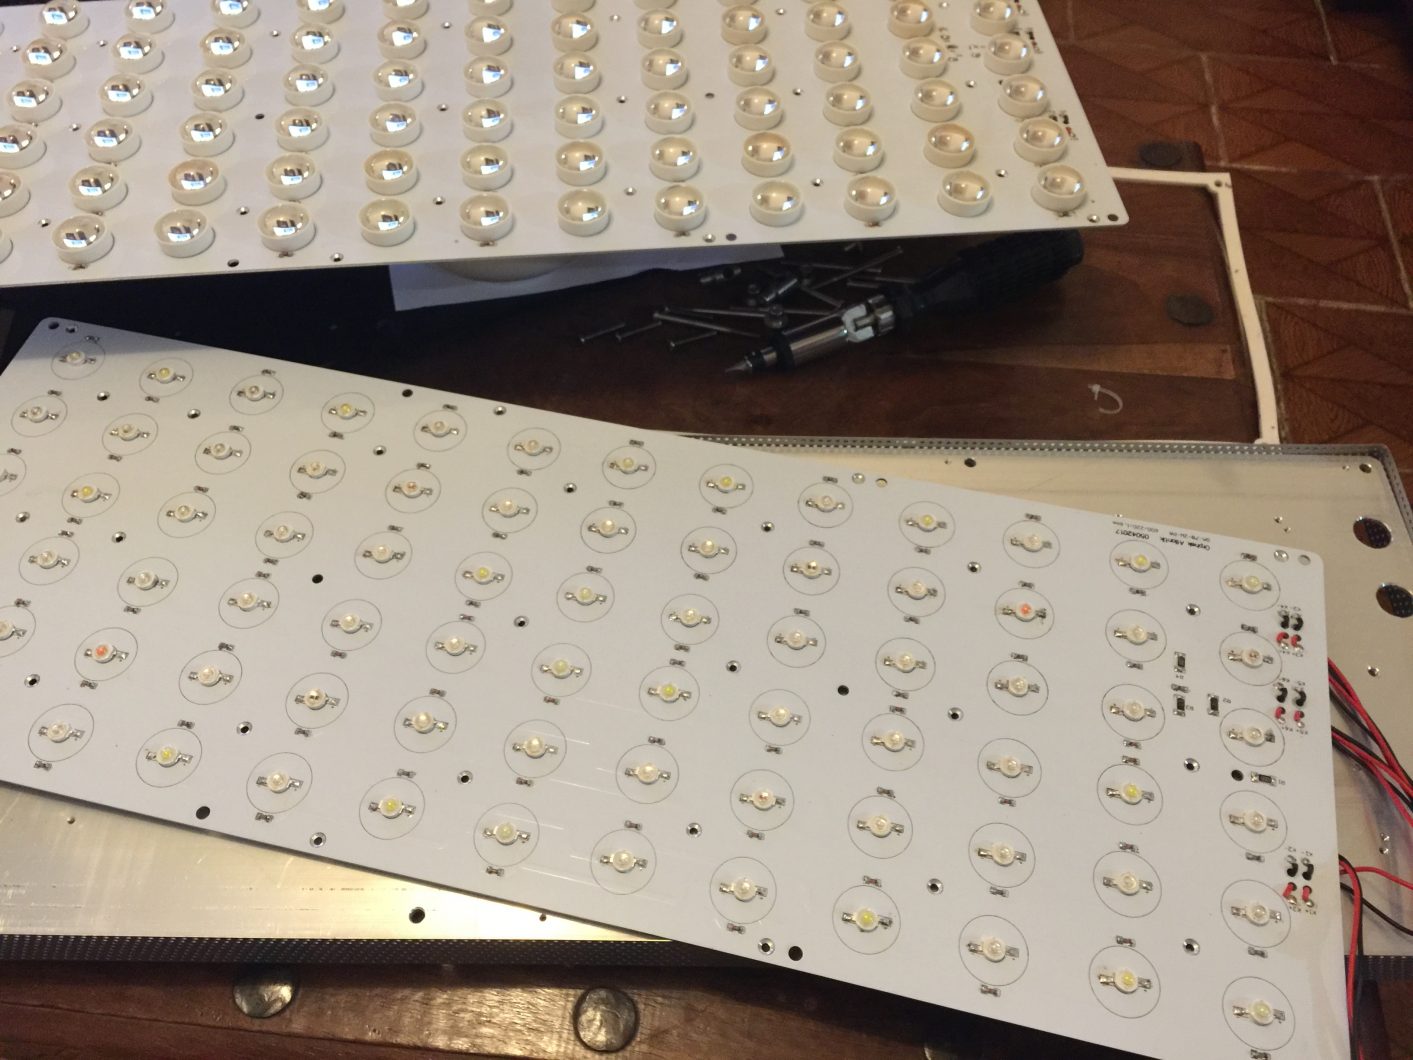
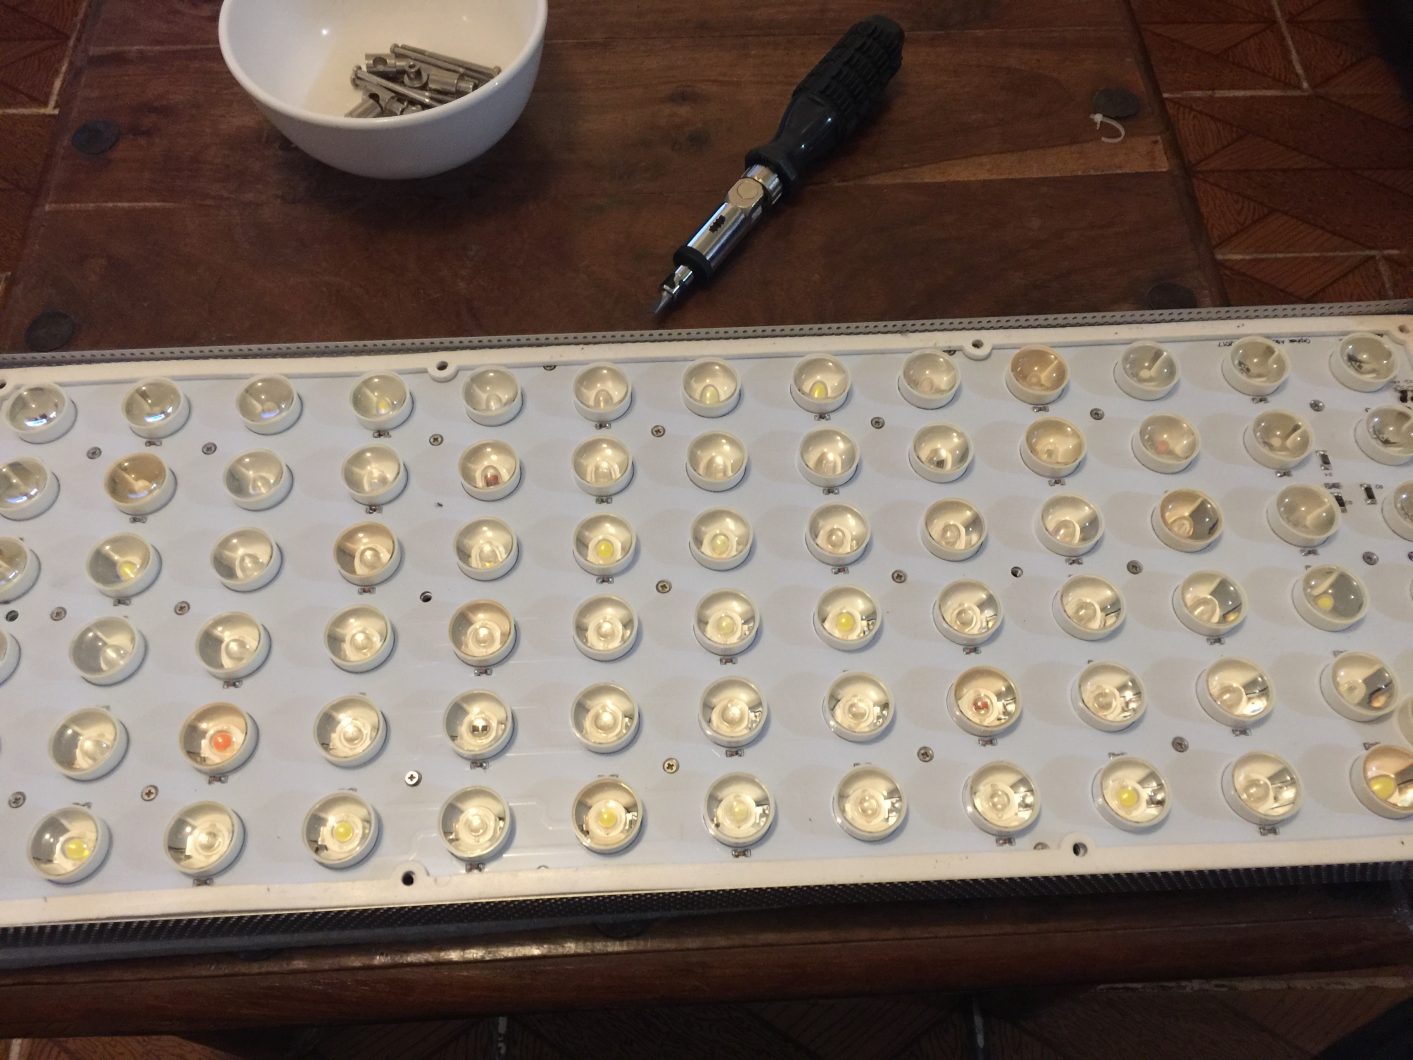
2.Remove the 28 screws that fasten the LED PCB to the heat sink and remove the old LED PCB.
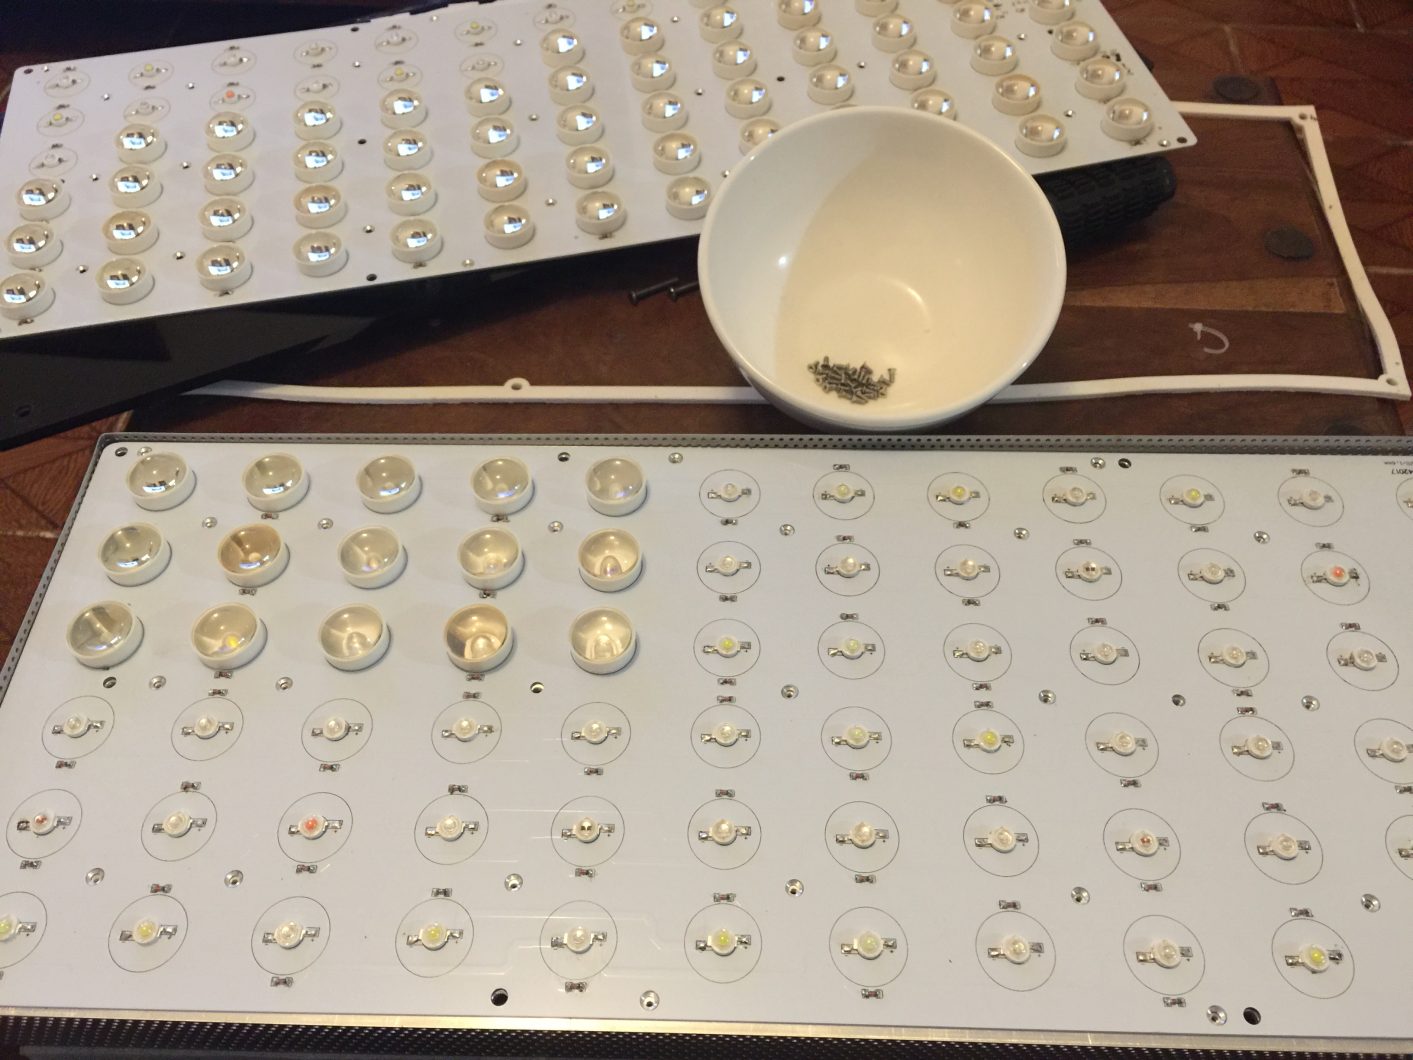
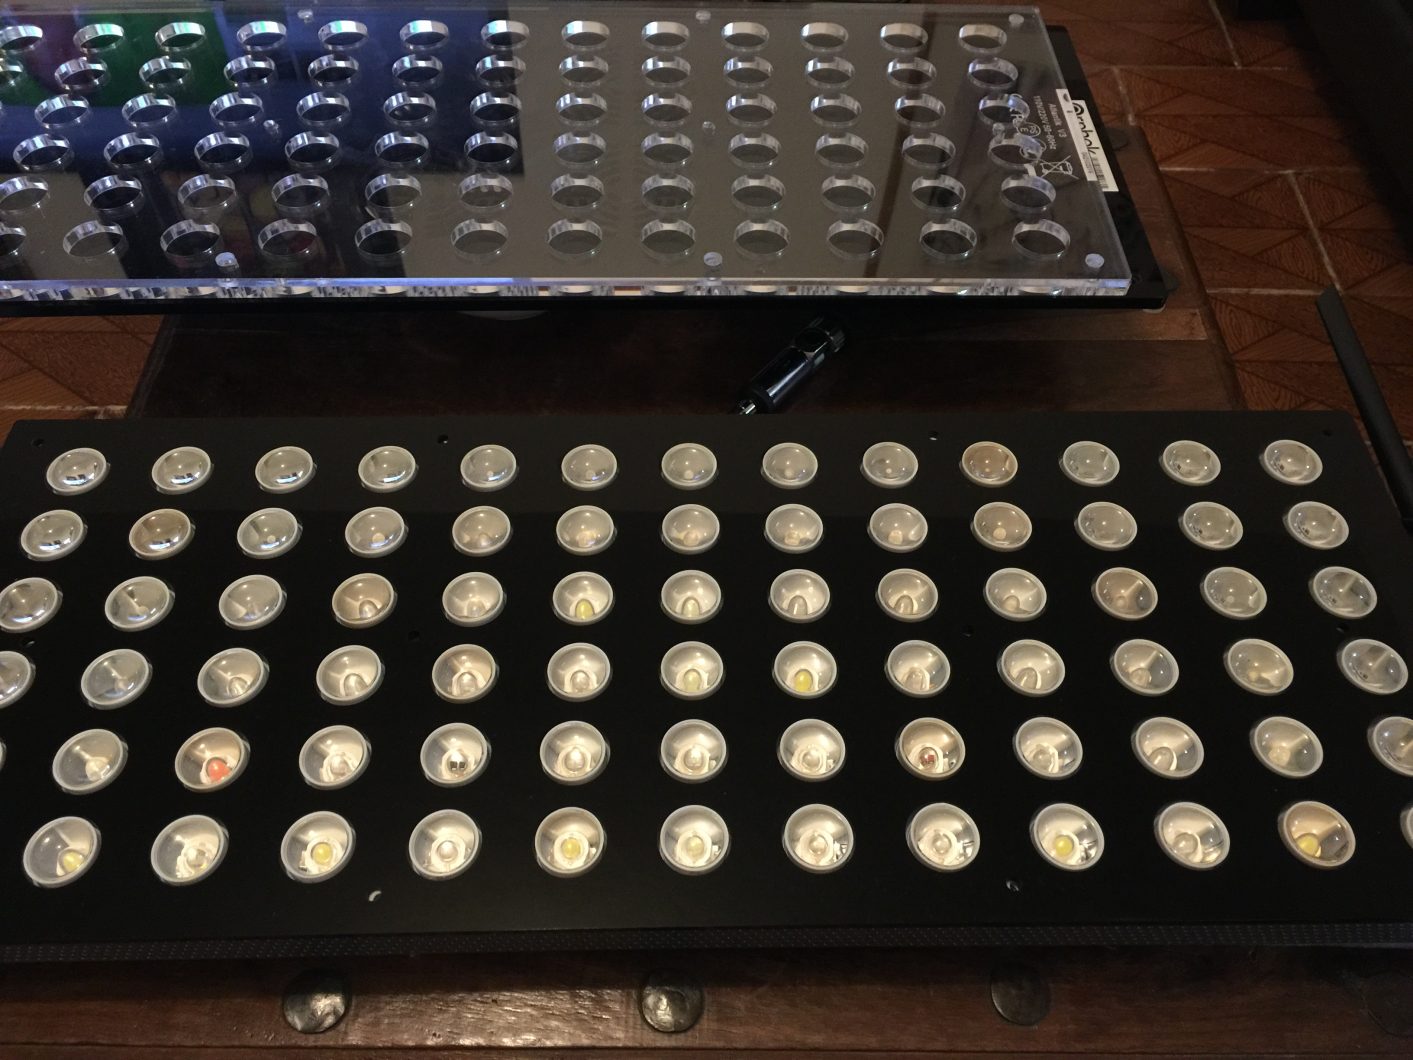
3.Carefully remove all the lenses by pulling the lens straight up. Place lenses in a bowl or container for the time being.
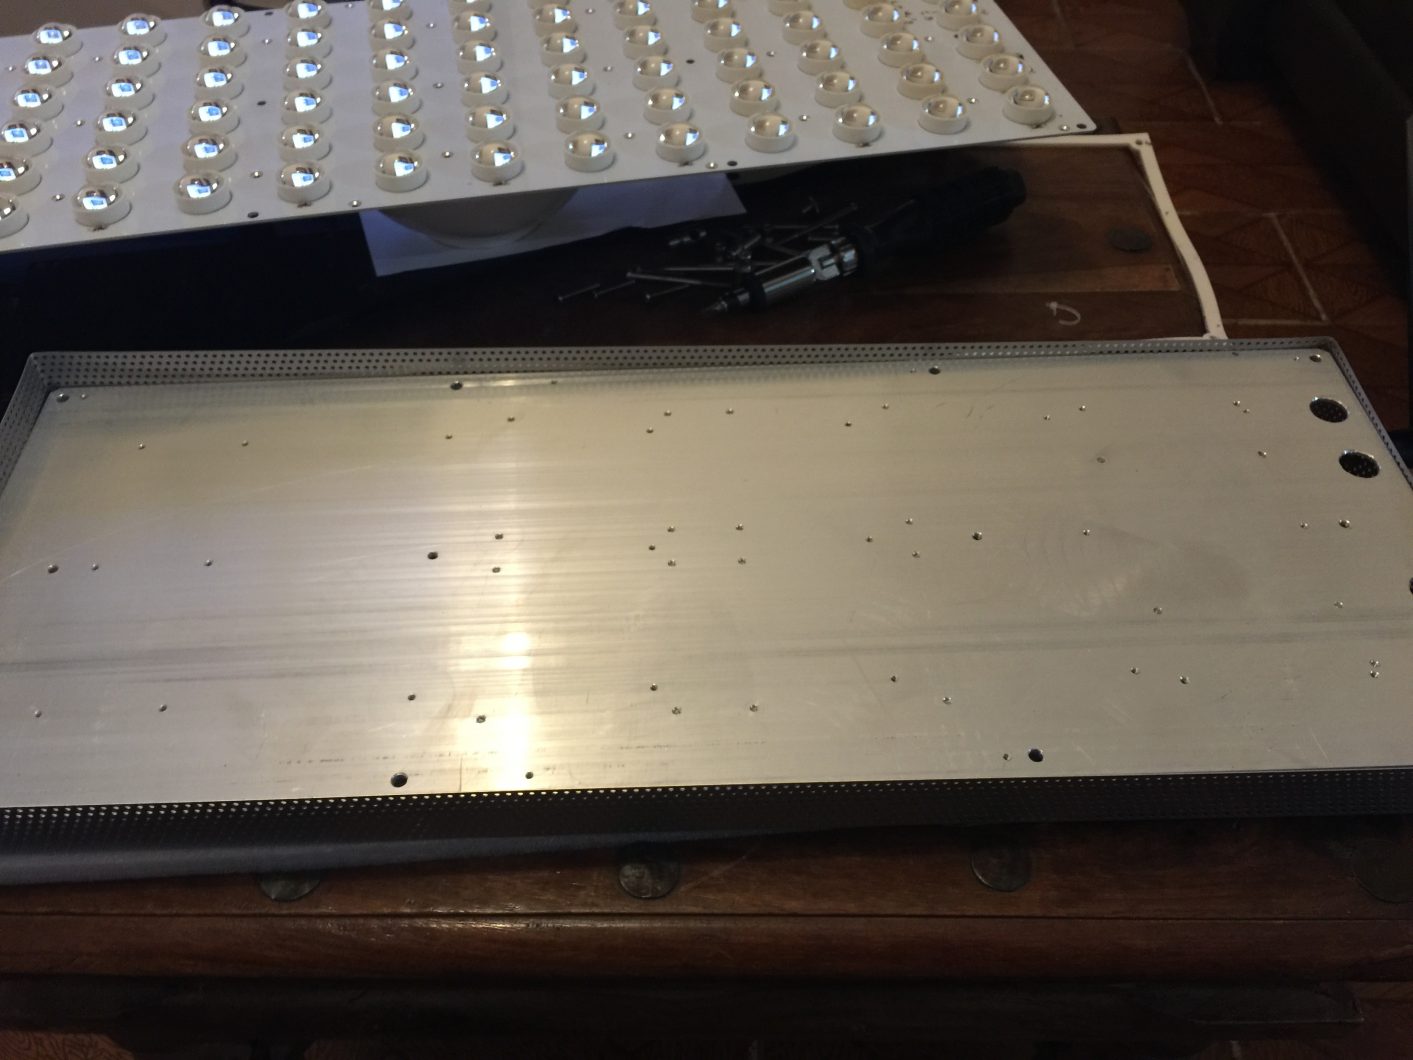
4.Clean the heat sink and make sure there’s no dust or other debris on the heat sink.
5.Clean the LED PCB, the side without the LEDs.
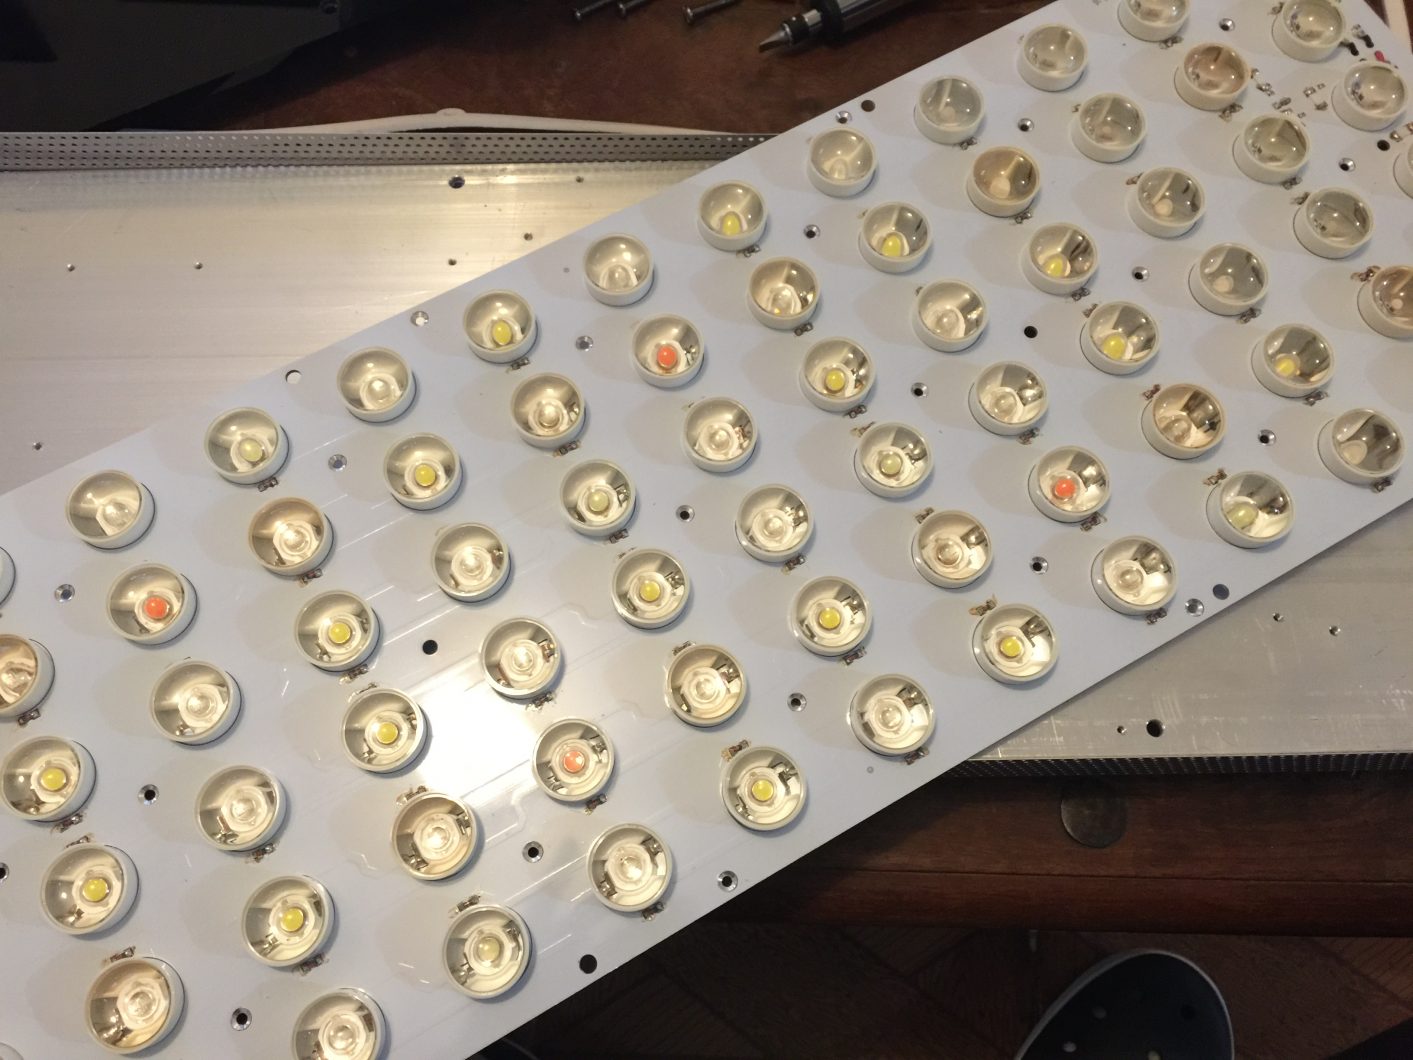
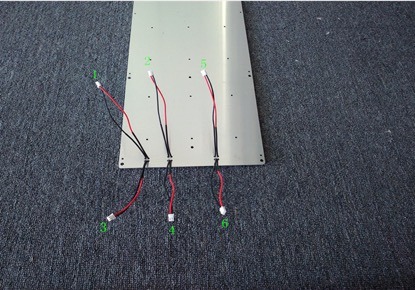
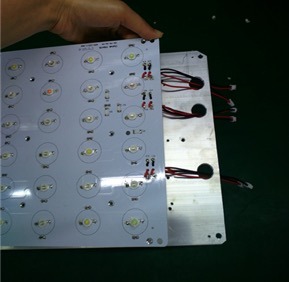
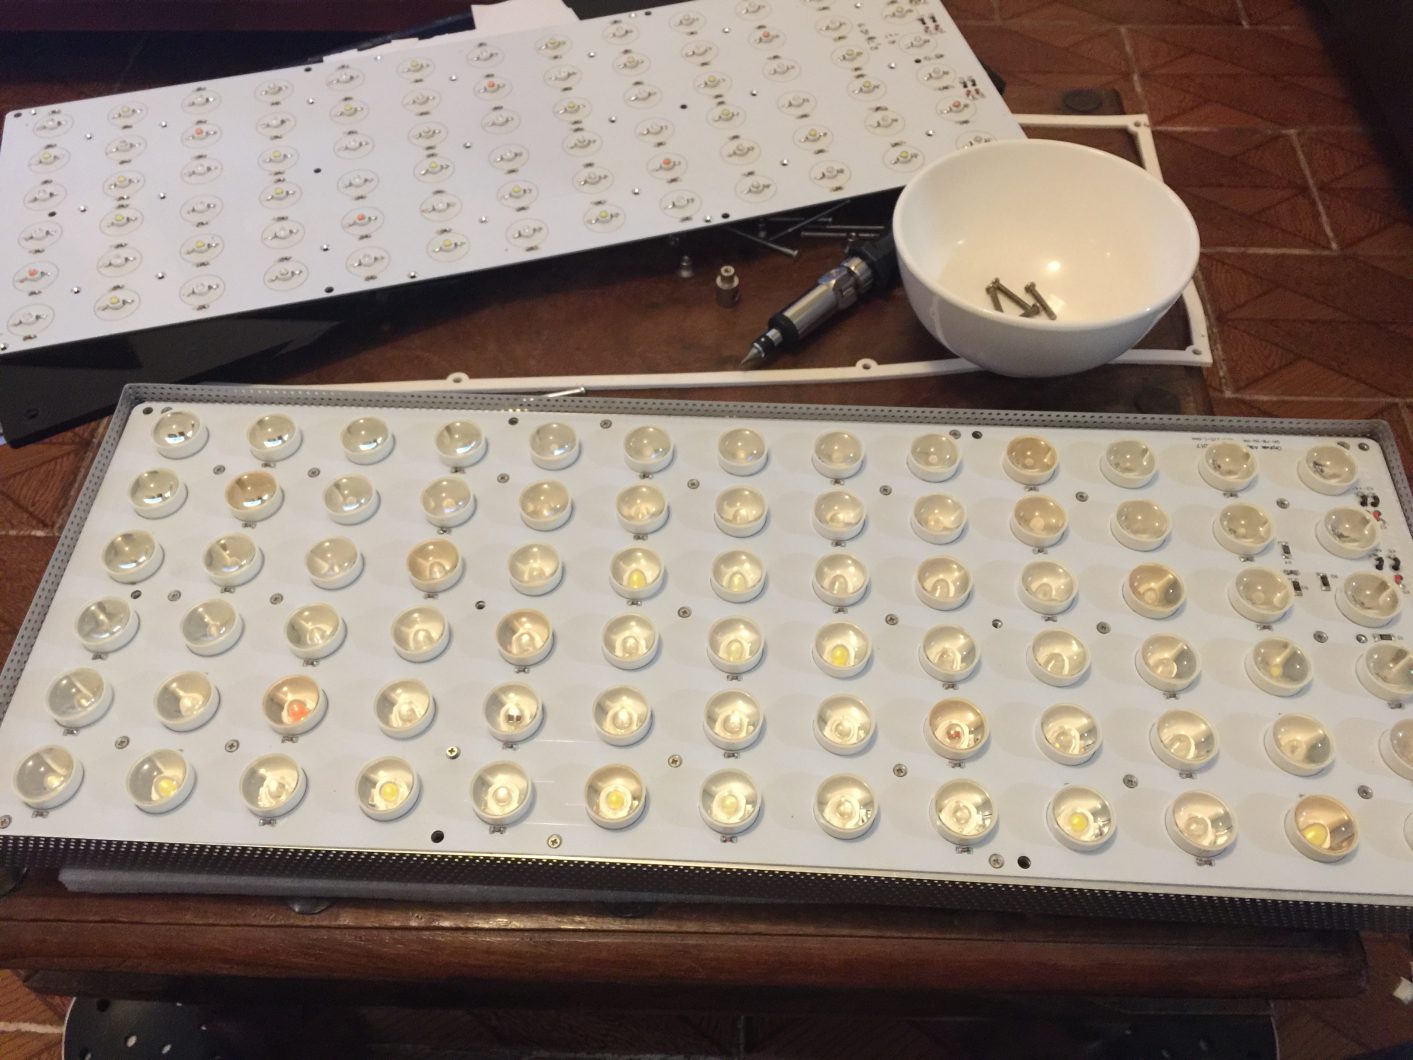
6. Put the new LED PCB on the heat sink and thread the six cables with connectors through the three holes as shown below. (Make sure the wires are free and not pressed or trapped against the heat sink)
Then take the 28 screws and fasten the new LED PCB to the heat sink being careful not to over tighten the screws.
7.You can now replace the lenses to the new PCB.
8.Connect the six LED cables to the PCB making sure the correct cables are inserted into the correct receptacles.
Before assembling the light back together, please power the unit up and make sure all LEDs are working properly. You can do this in the quick set mode by checking each channel individually. If all is well you can now reassemble the light.
