Congratulations on your selection of the Orphek Atlantik Series of LED lighting. We want to thank you for choosing Orphek and we know that you will get many years of faithful service from your light. The advanced design of the Orphek spectrum will deliver color and growth to rival or exceed those found with metal halide.
This manual will assist you with ownership, programming and maintenance of your light and serve as a valuable reference.
Section 1- Getting Started:
Unpacking your light.
Your Atlantik light will need to be unpacked carefully and you will need to inspect it fully to ensure that no damage occurred during shipment or storage. Should any damage be located, do not plug your light in and report the damage immediately to your place of purchase for resolution. All of our lights leave the factory packed well for shipping after quality control and testing. Orphek is not responsible for damage in shipping or storage at your local retail outlet.
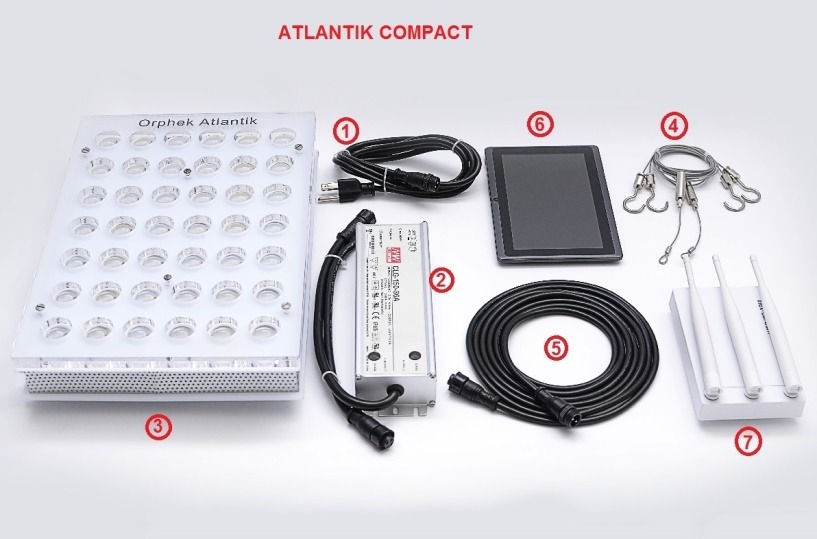
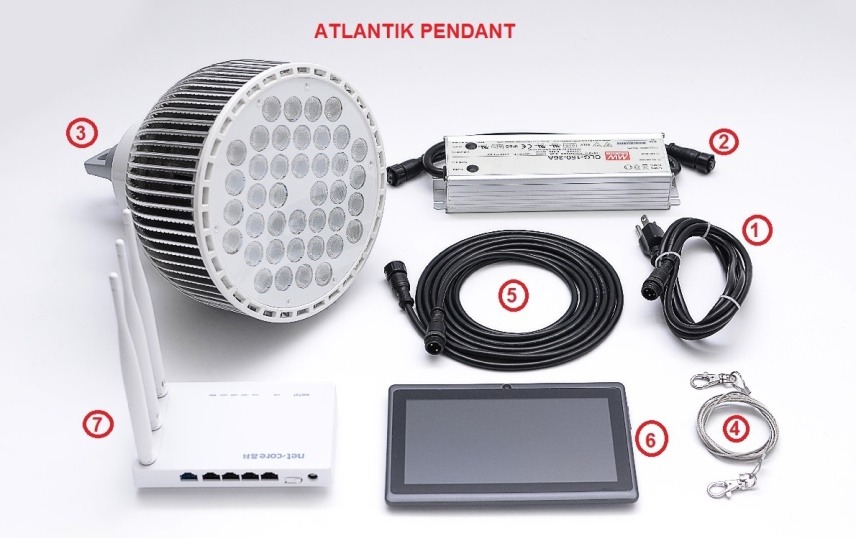
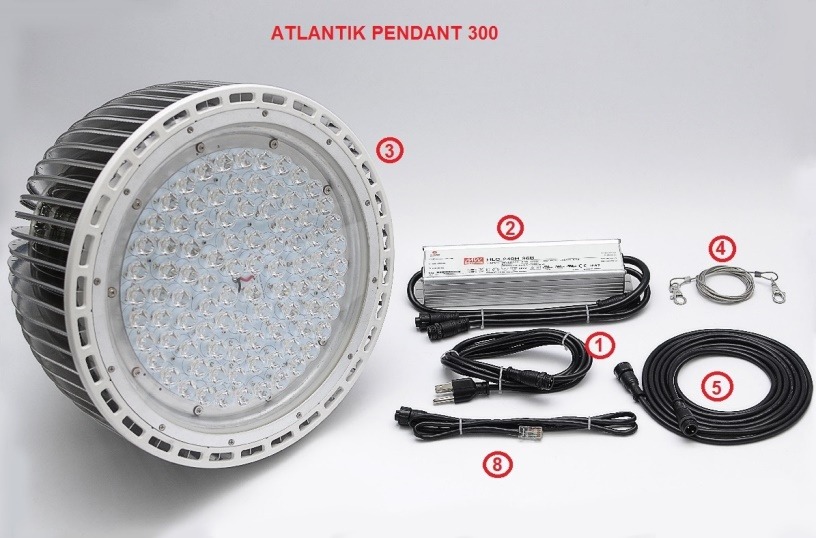
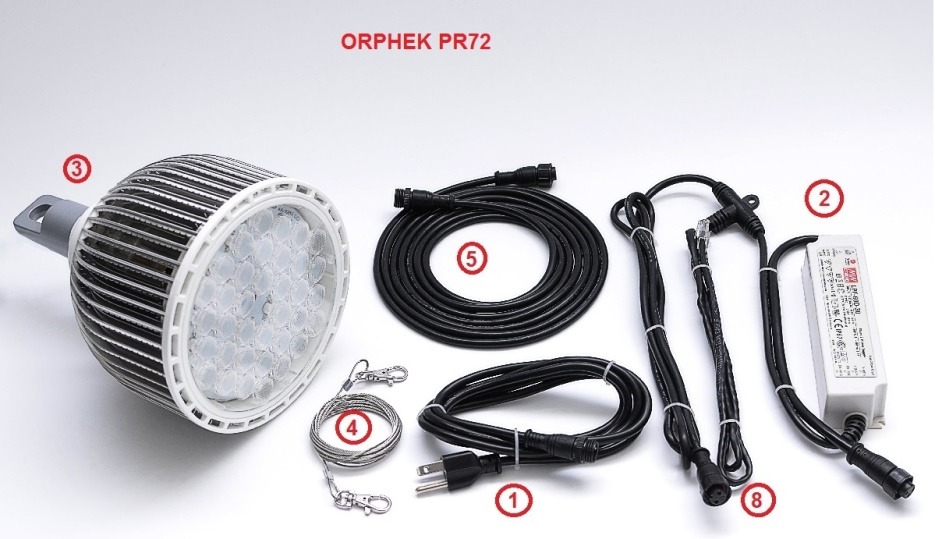
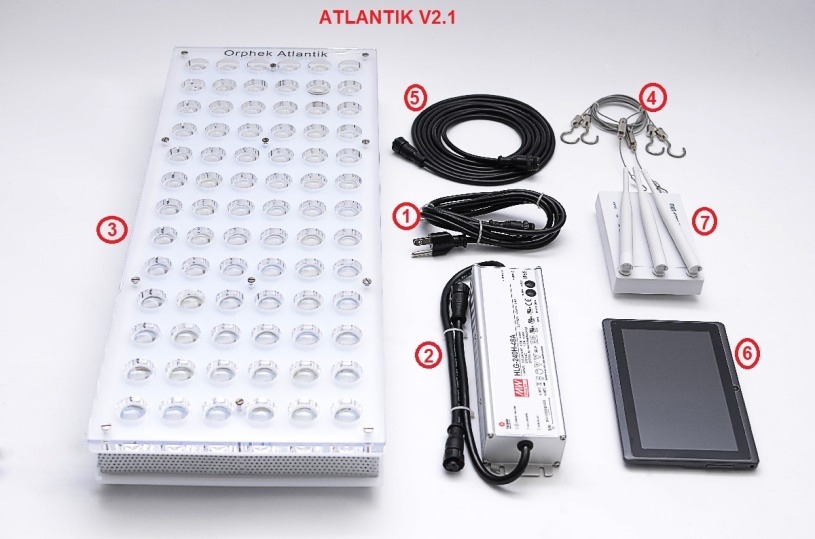
After opening your light and unpacking the light it’s time to familiarize yourself with the different components.
- Power Cord (region specific)
- Meanwell Driver
- Light Array
- Hanging kit (Some Models Vary)
- Extension Cable (Optional)
- Android Tablet (Optional)
- Orphek Router (Optional)
- RJ45 Dimming cable (Some Models)
Once you have familiarized yourself with the components you can connect them and begin the programming process.
Turning on your unit for the first time.
Once you have connected all of the components you can plug the unit in. A few words of caution first:
- Don’t look directly at the LEDs when the unit is plugged in.
- Orphek suggests connecting and programming the lights fully prior to installation. This will enable you to familiarize yourself with the light fully and will make installation and use easier.
Your light should turn on at 100% once it’s plugged in. Occasionally the unit will remain off, do not be alarmed if this is the case. The way to make sure that it’s on is by visibly observing the red LEDs on the internal circuit board of the array that will show through the acrylic housing and indicate the unit has power.
Downloading the Orphek Application to your Android device
You will now need to download the Orphek Application to your Android device. You have 2 options to do this. Orphek recommends directly downloading the app from Orphek.com/downloads. This will give you access to the latest apps for your unit. Another option is to download the app via the Google playstore. This option requires a Google account and will also enable updating as apps are submitted to the playstore.
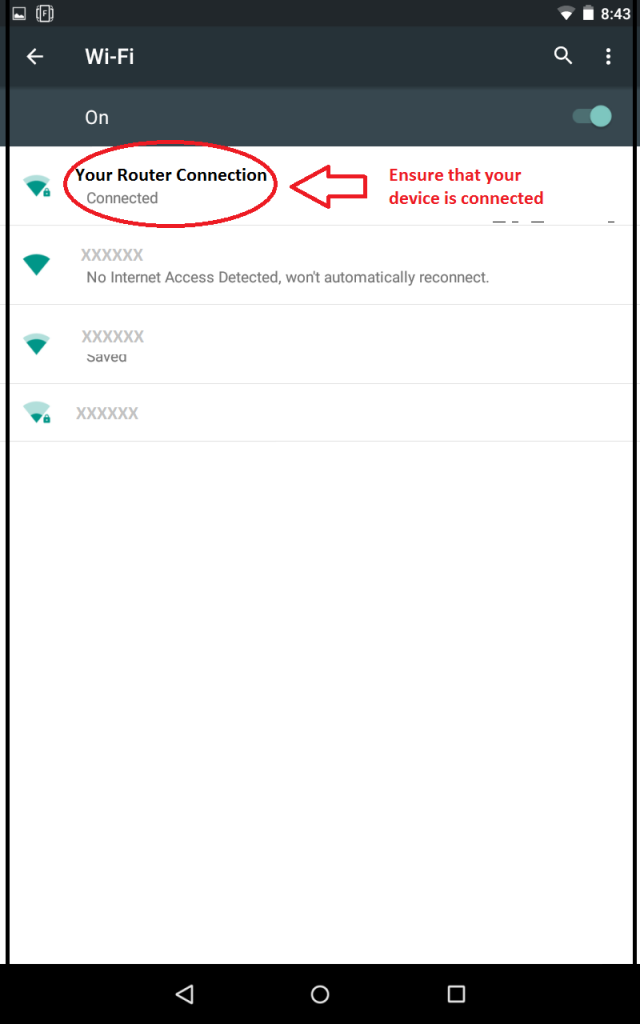
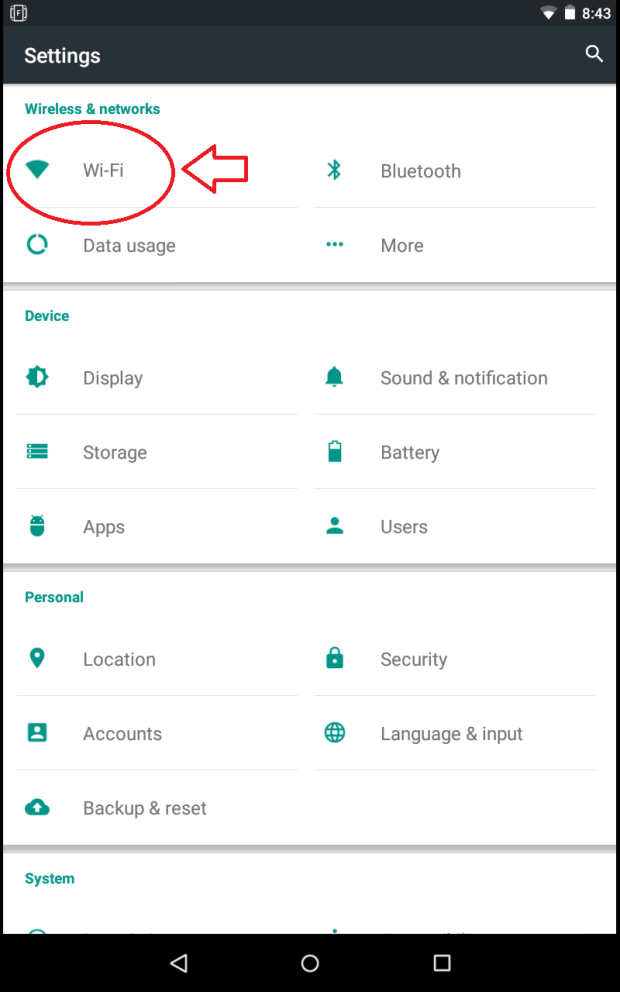
Ensure that you have internet connection on your device by connecting to your local router or providers internet service. Verify connection through your settings by clicking on WiFi and ensuring that you are connected.
Option 1- Downloading from Orphek.com
Open your internet browser on your android device and type https://orphek.com/orphek-atlantik-v2-wifi/downloads/ in the address bar.
Select the correct application for your unit based upon the information posted on the website regarding dates and models.
Go to your downloads folder, the Orphek app should be listed, touch it and click install. Some devices may give you the option of installing from unknown sources and you will choose to allow this in this case.
Option 2- Downloading and installing Orphek app via Google Playstore.
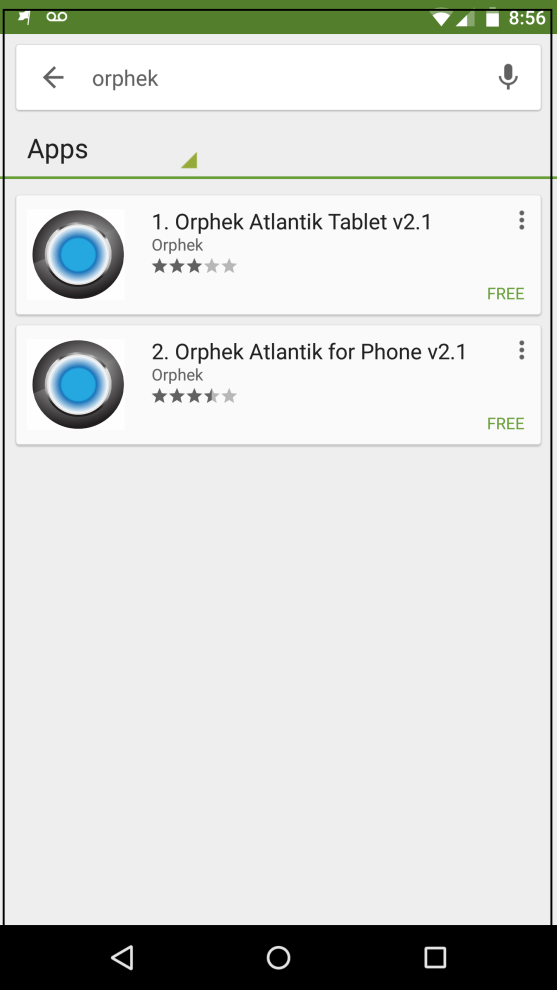
Go to the installed Google Playstore app on your device and search for Orphek. If your device is compatible with the app then you will see the Orphek Atlantik app as an option. Choose the correct app for your device, download and install this app just like you would any other on your device.
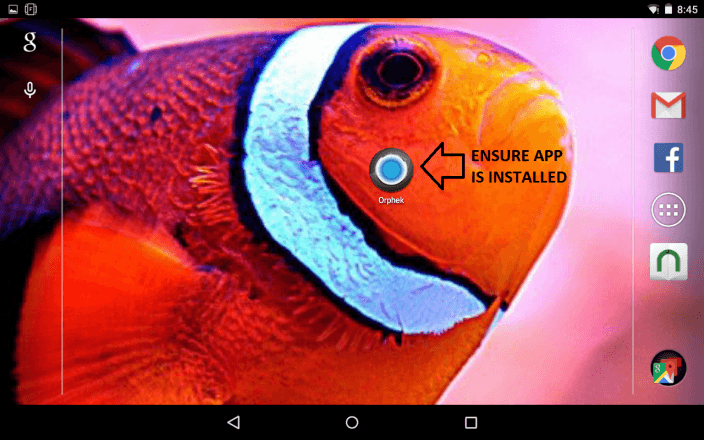
Once you have downloaded and installed the app via your selected option, you will see the icon for the app in your apps page. You may wish to move it to a homepage or location that you have easy access to on your device. You are now ready to begin the setup process in section 2.
